Growing Beans
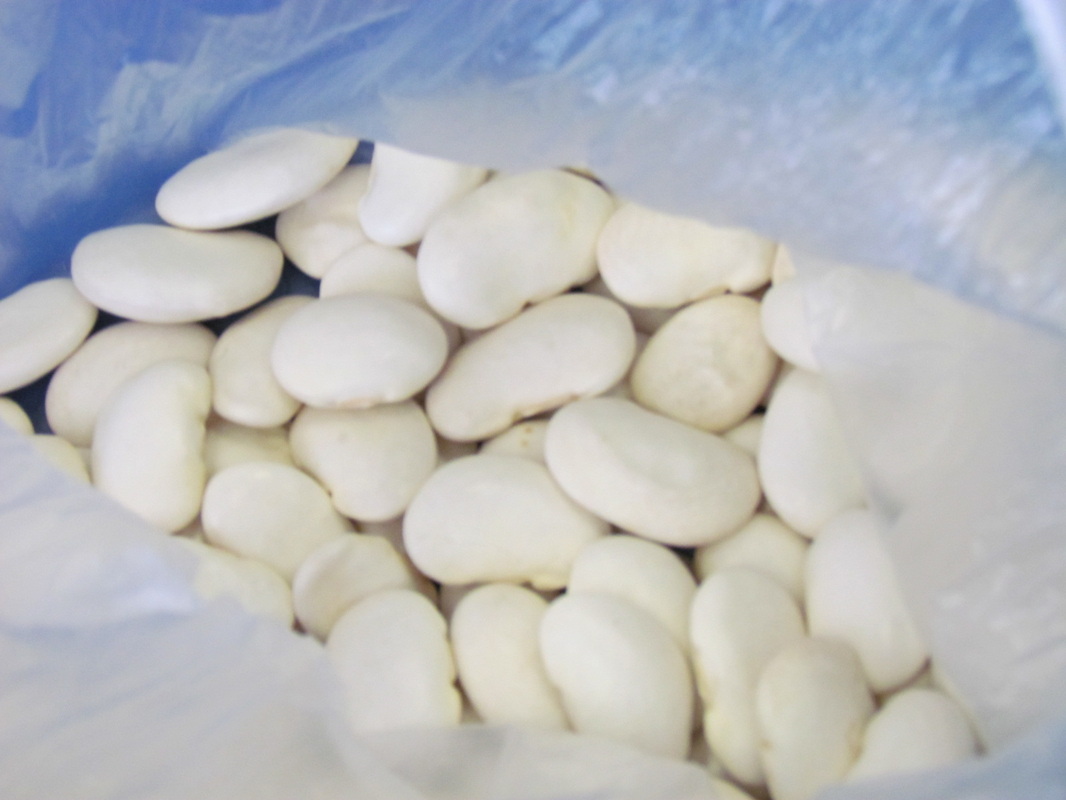
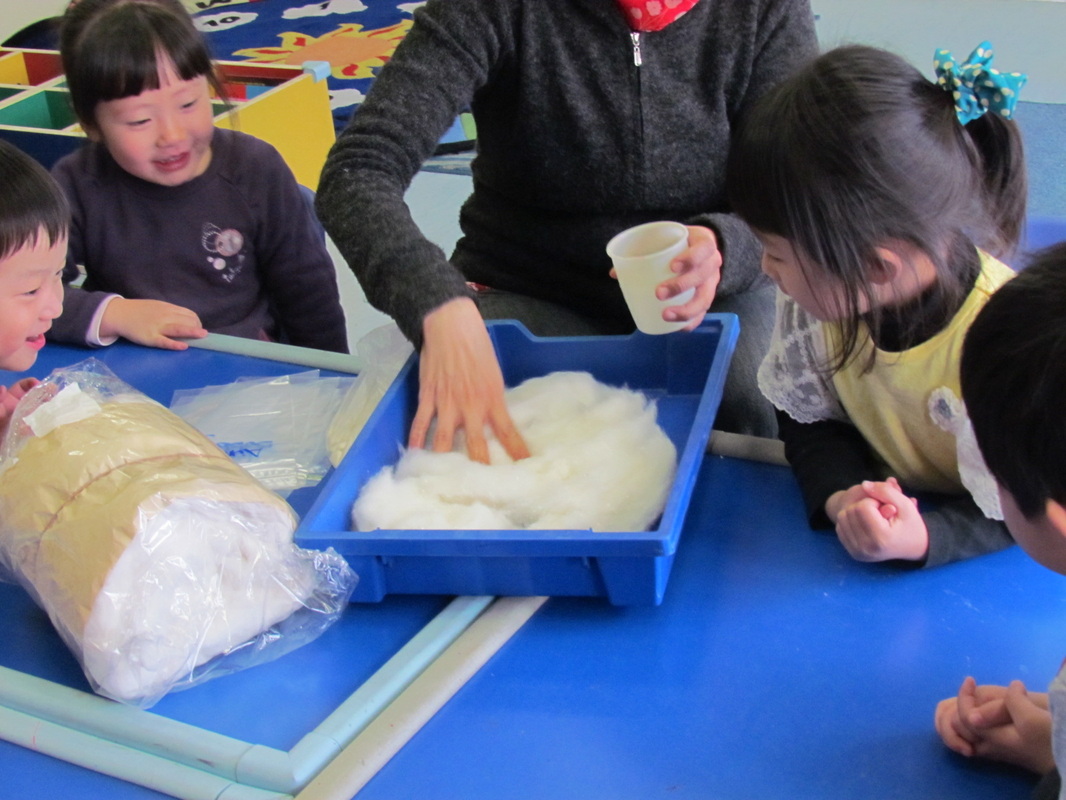
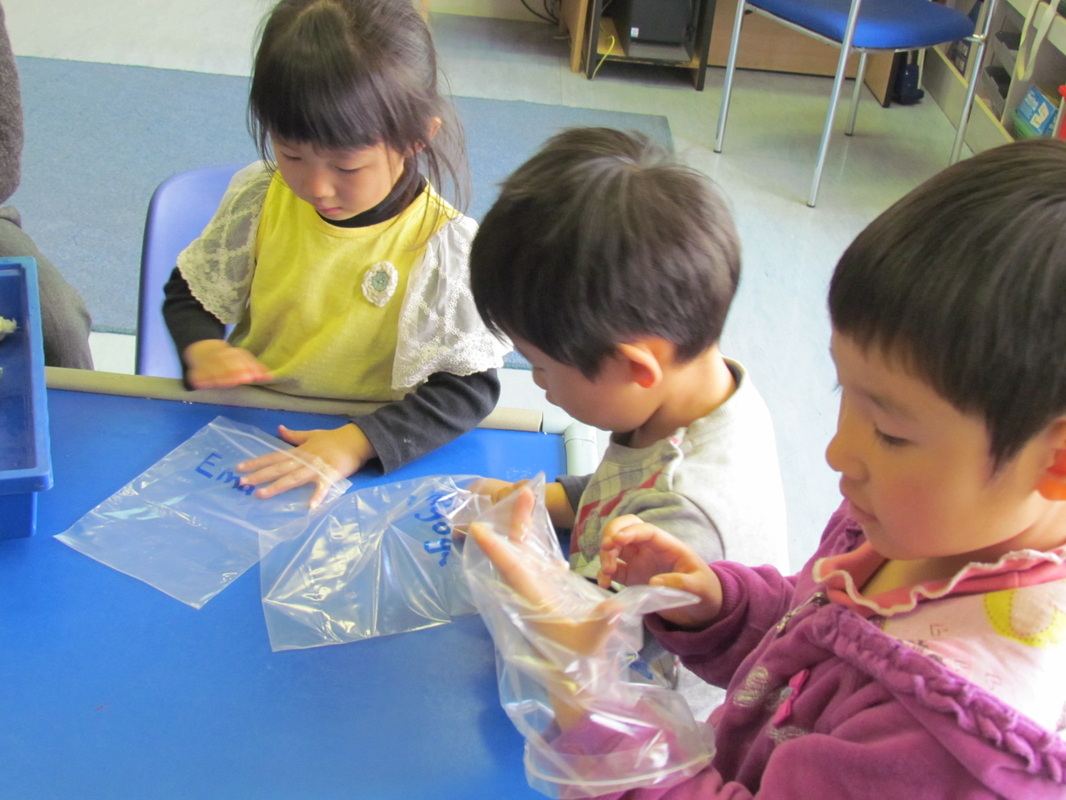
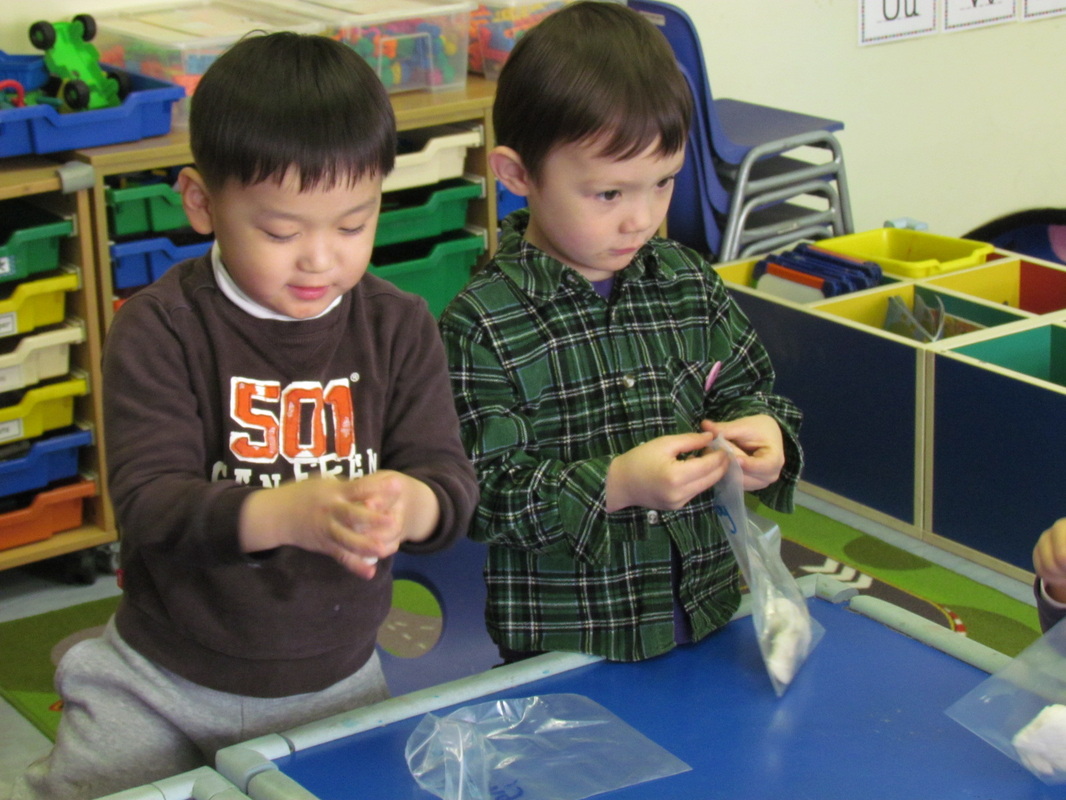
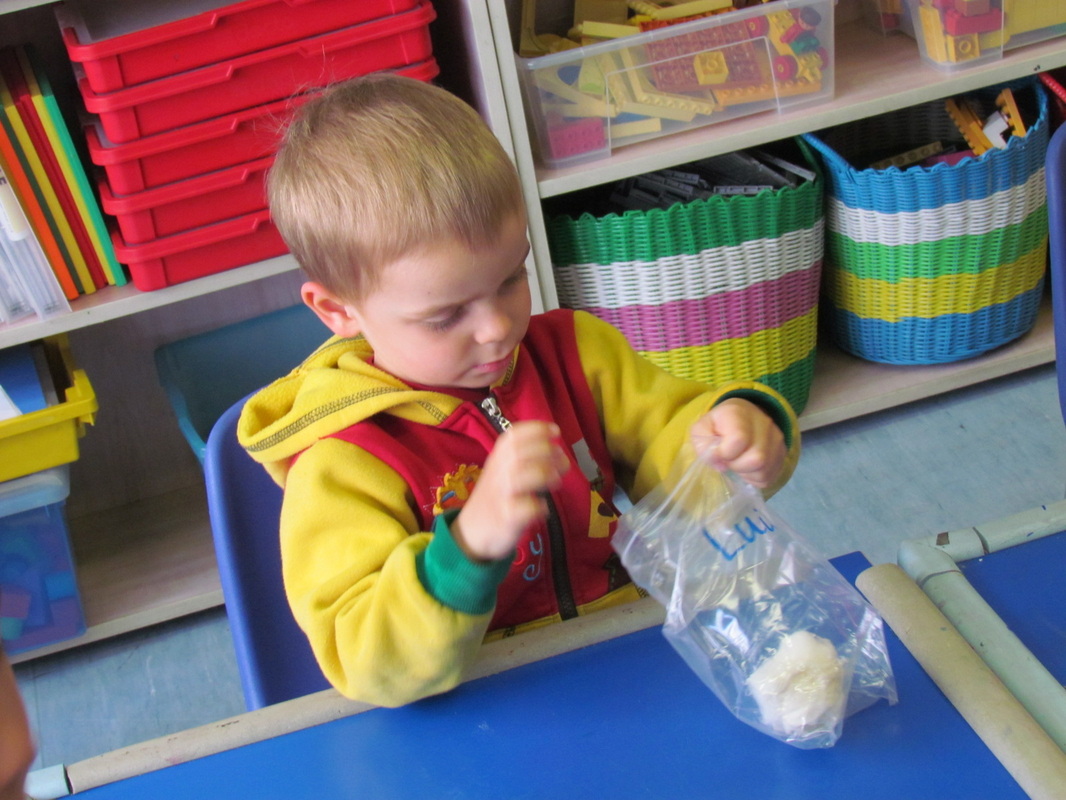
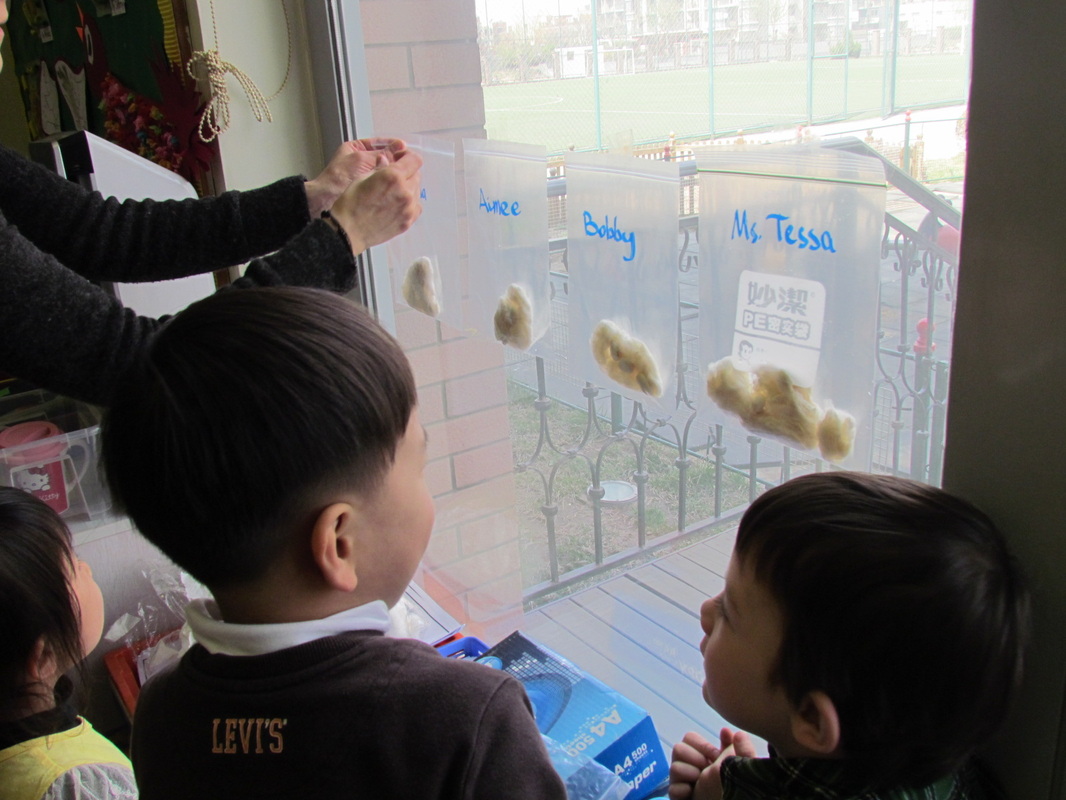
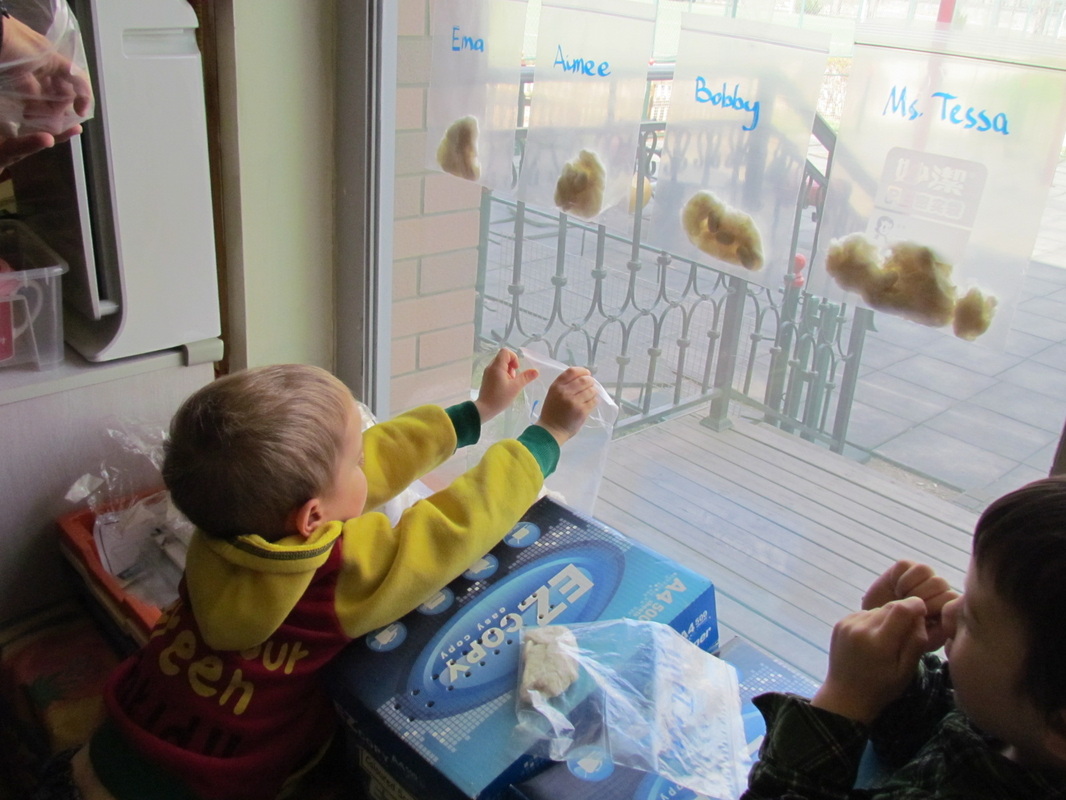
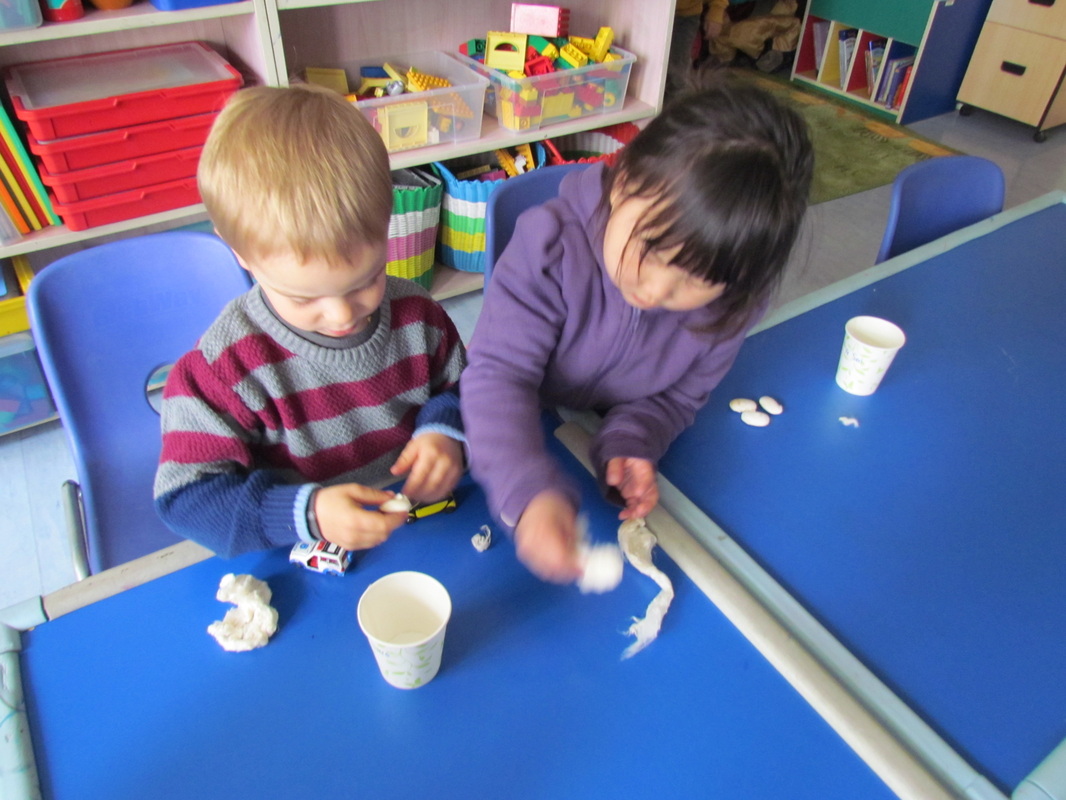
As part of our Plant Project the children looked at the stages of growing a beanstalk. Each child put three broad beans into a plastic bag with some dampened cotton wool to germinate. We attached the bags to the window to make sure the beans had plenty of sunshine and warmth.


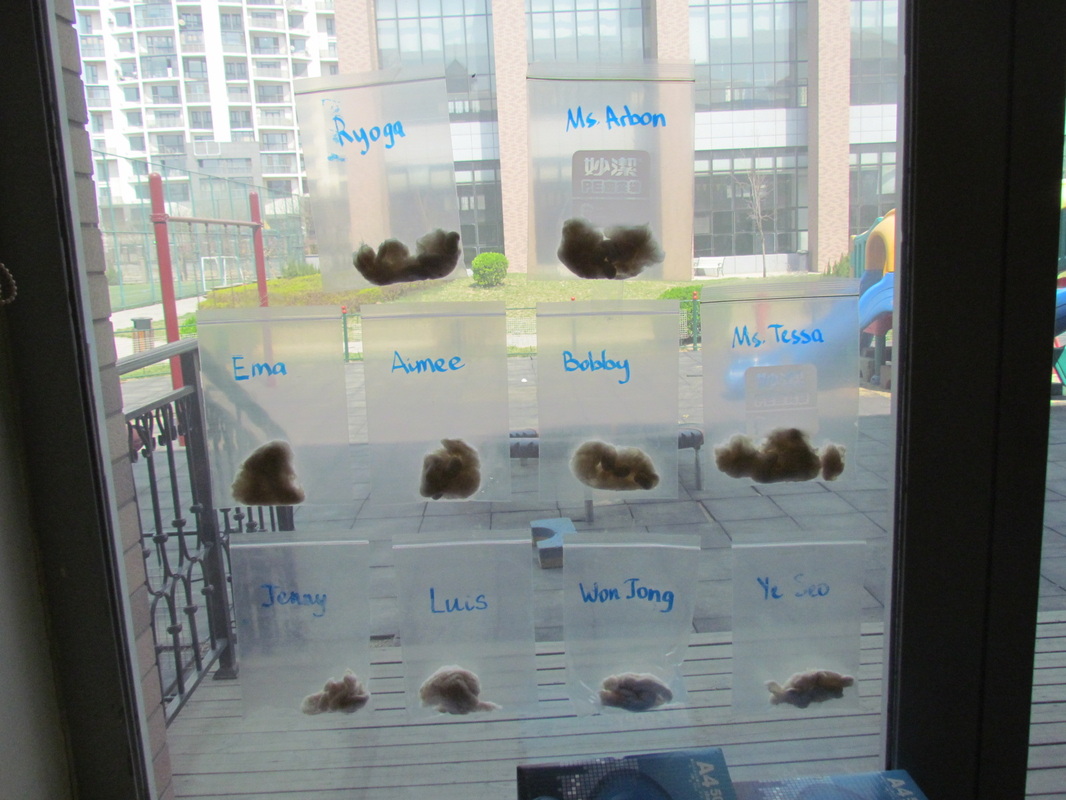
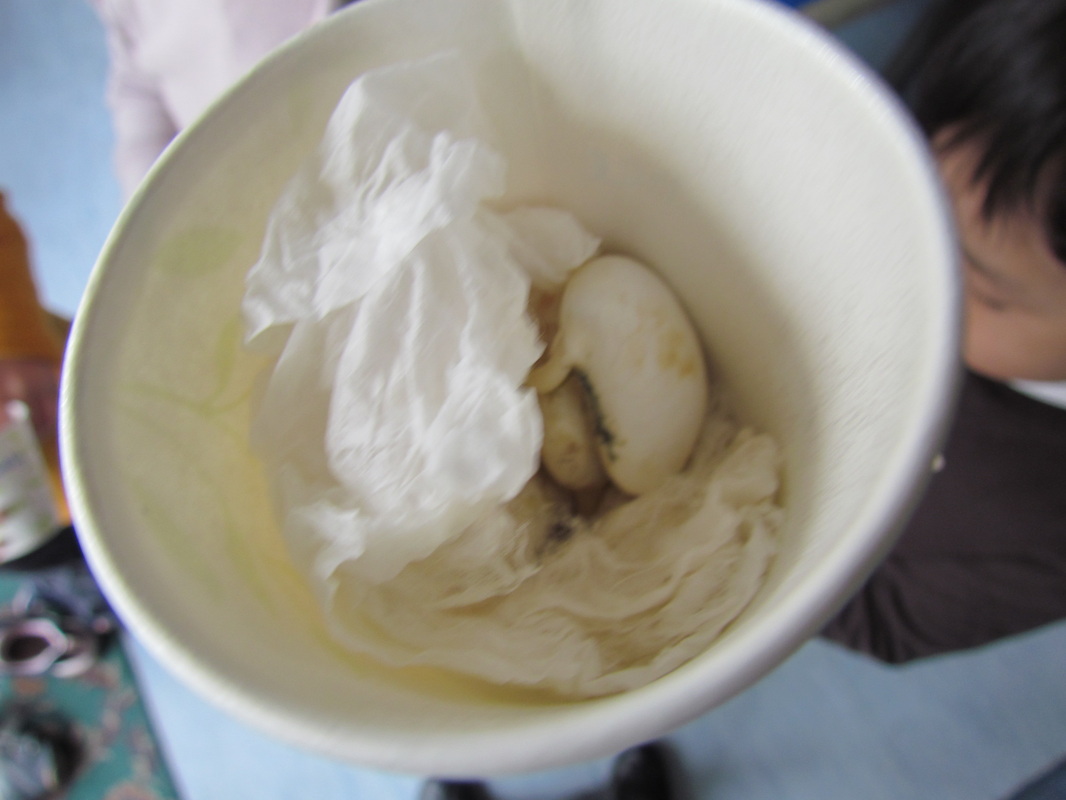
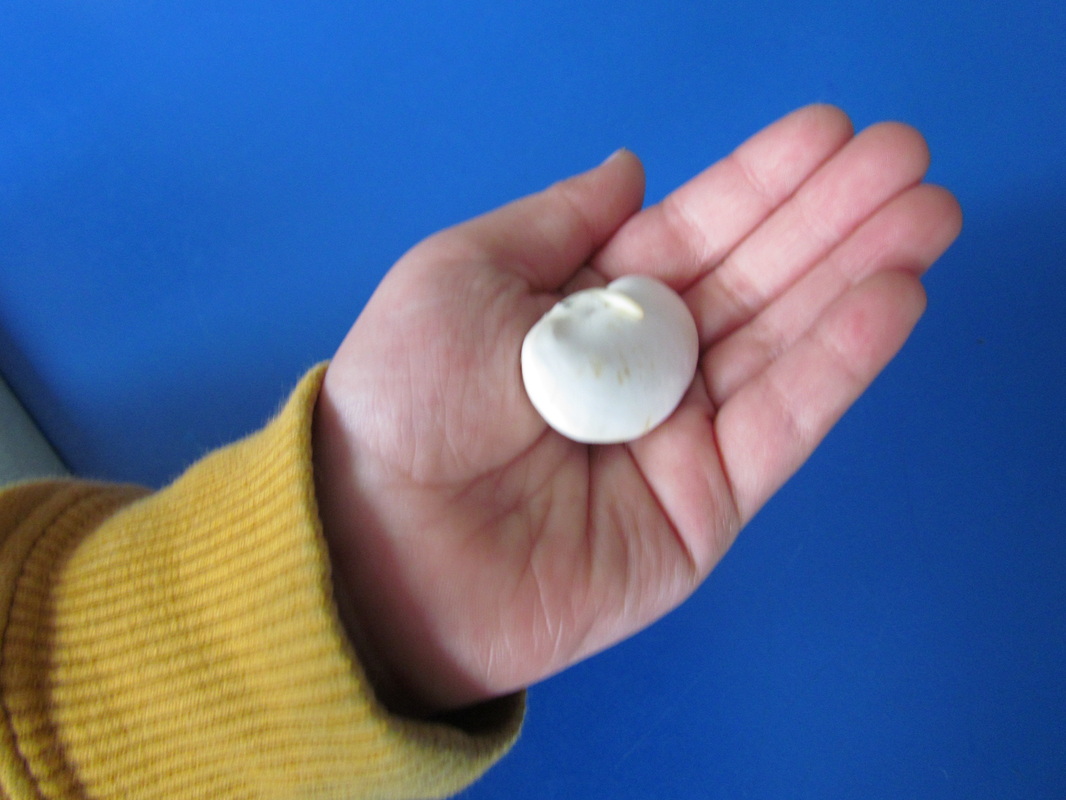
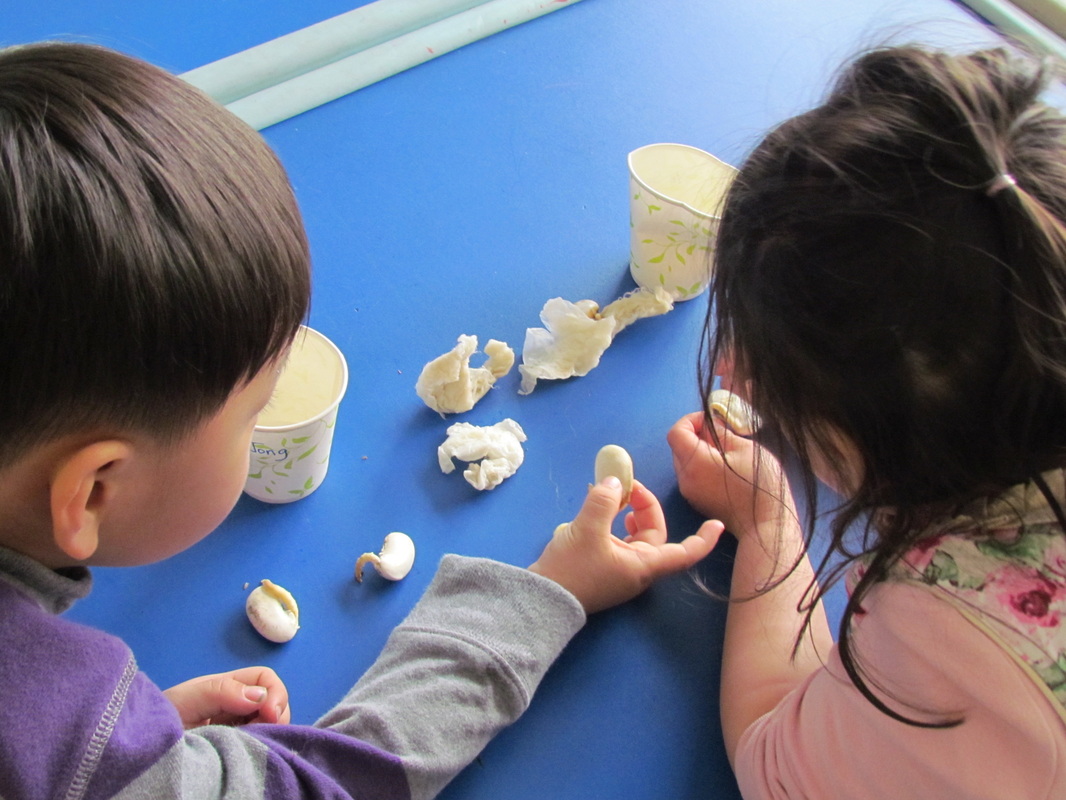
Our beans have germinated!
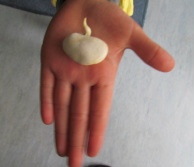
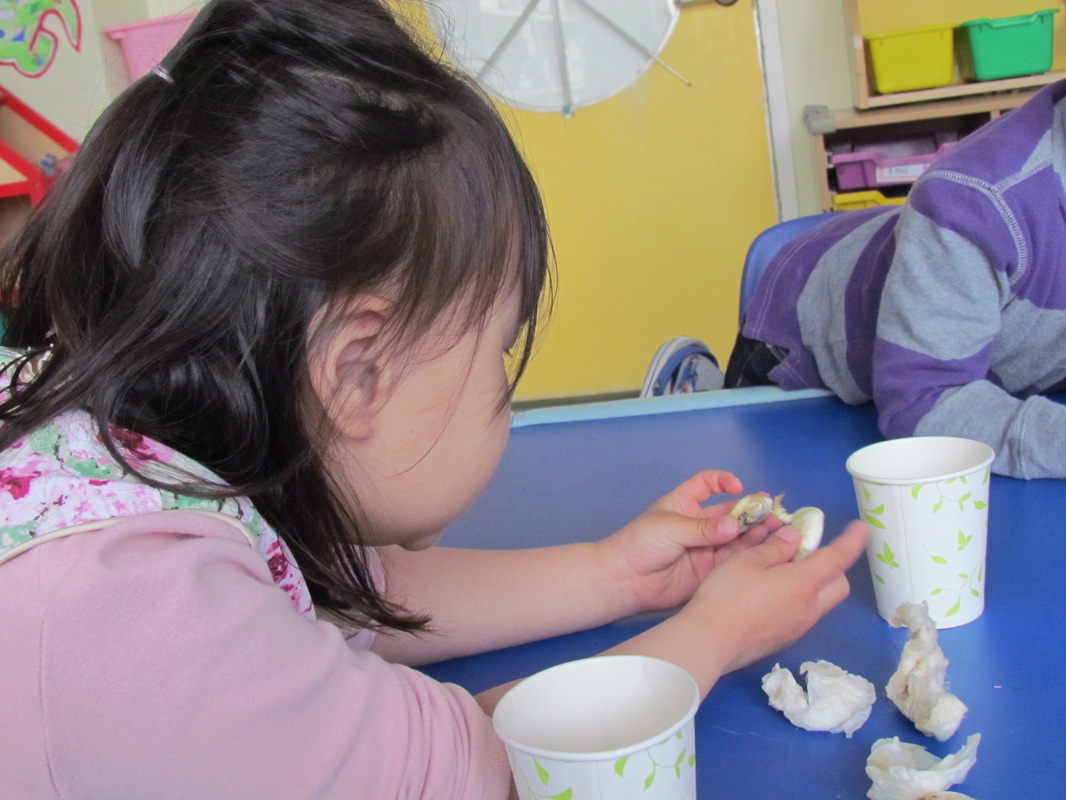
Few days later we checked our beans and most of them germinated! Tiny little roots had grown out of the beans, which made the children really curious.

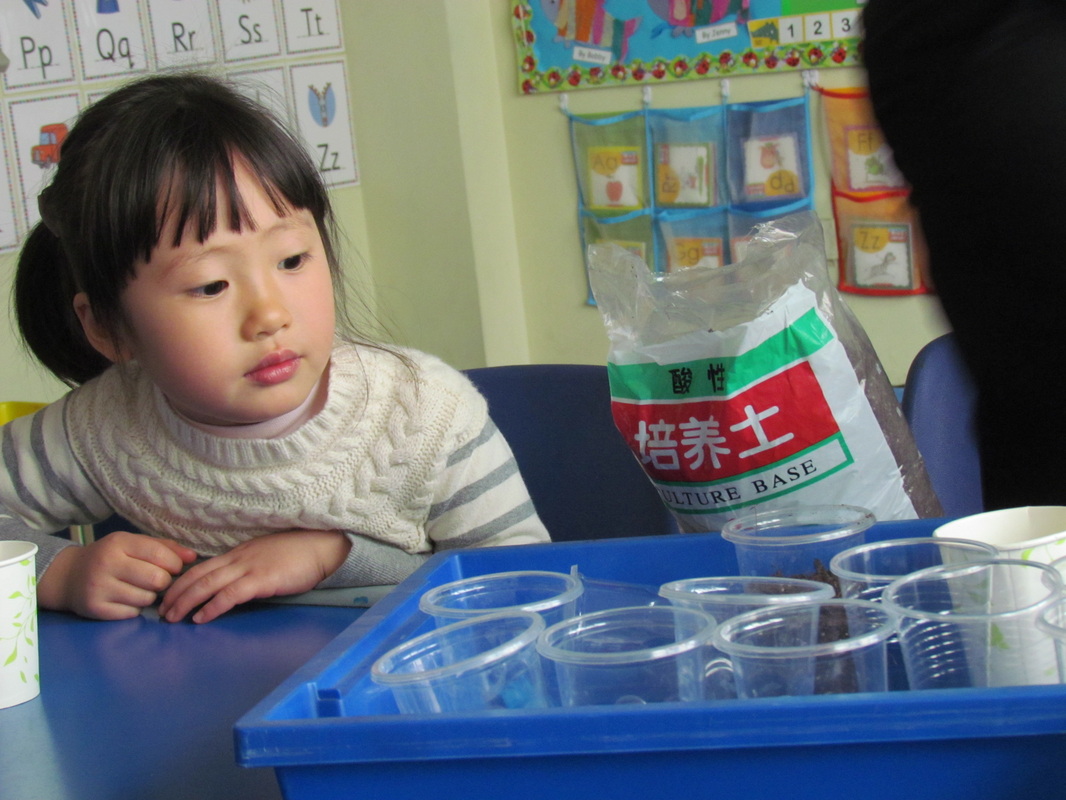
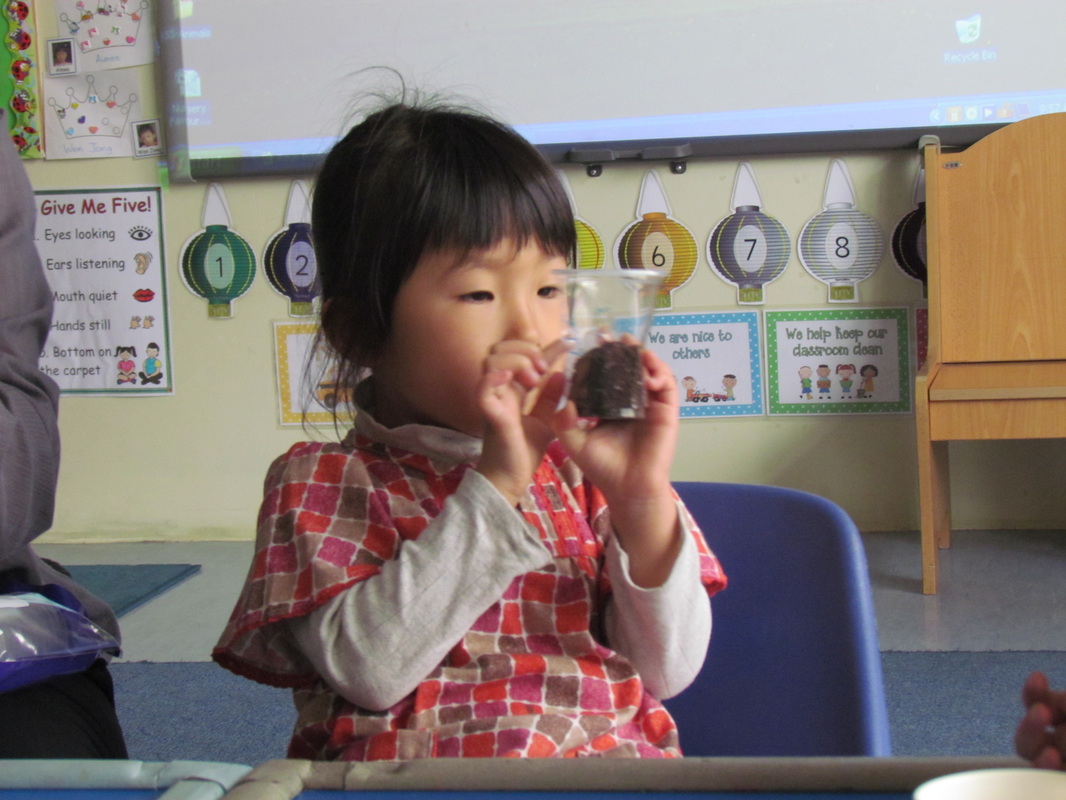
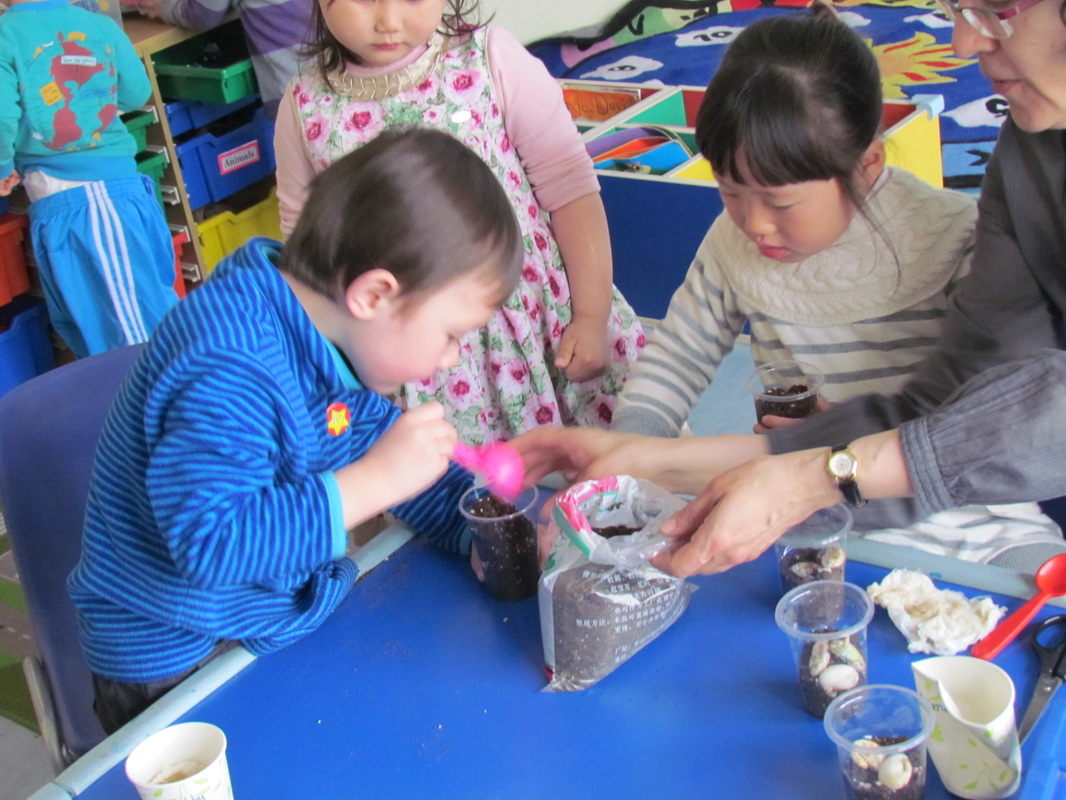
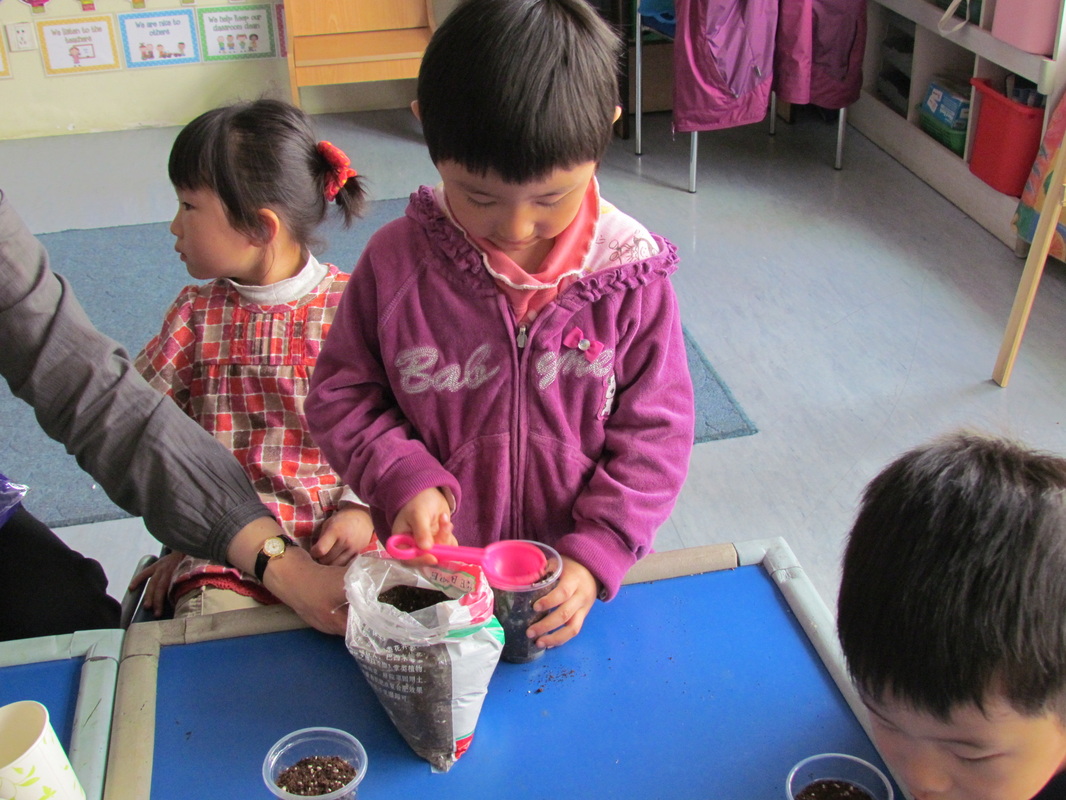
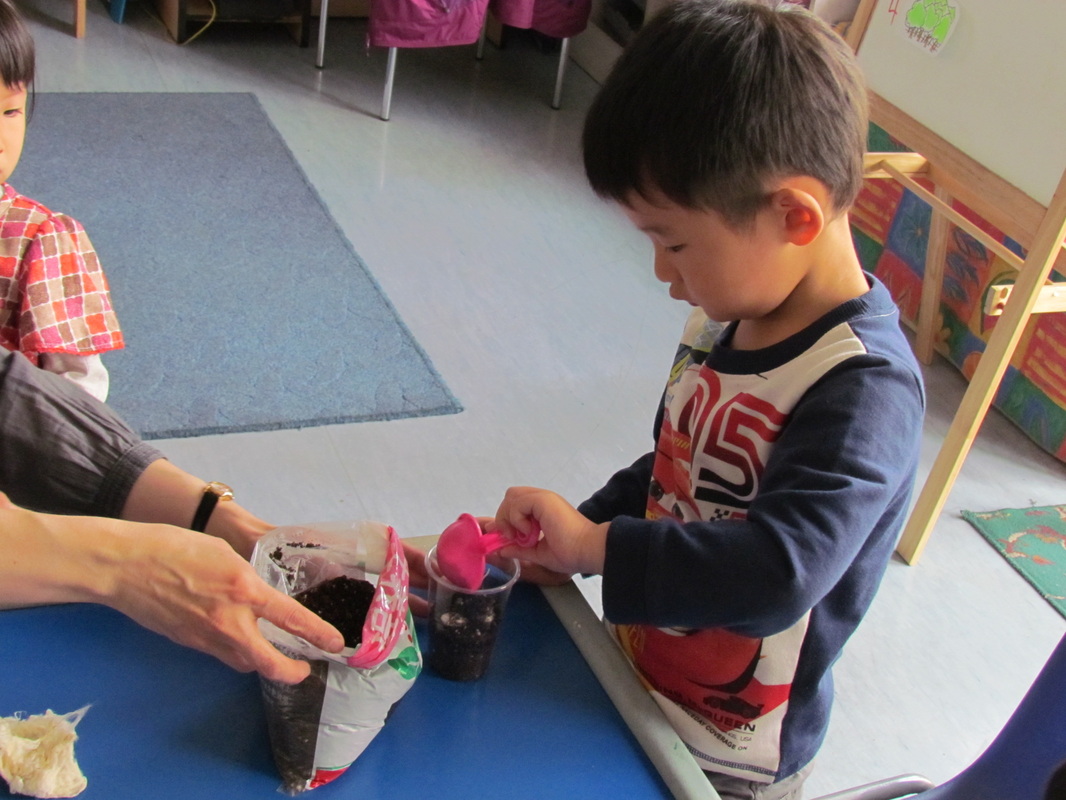
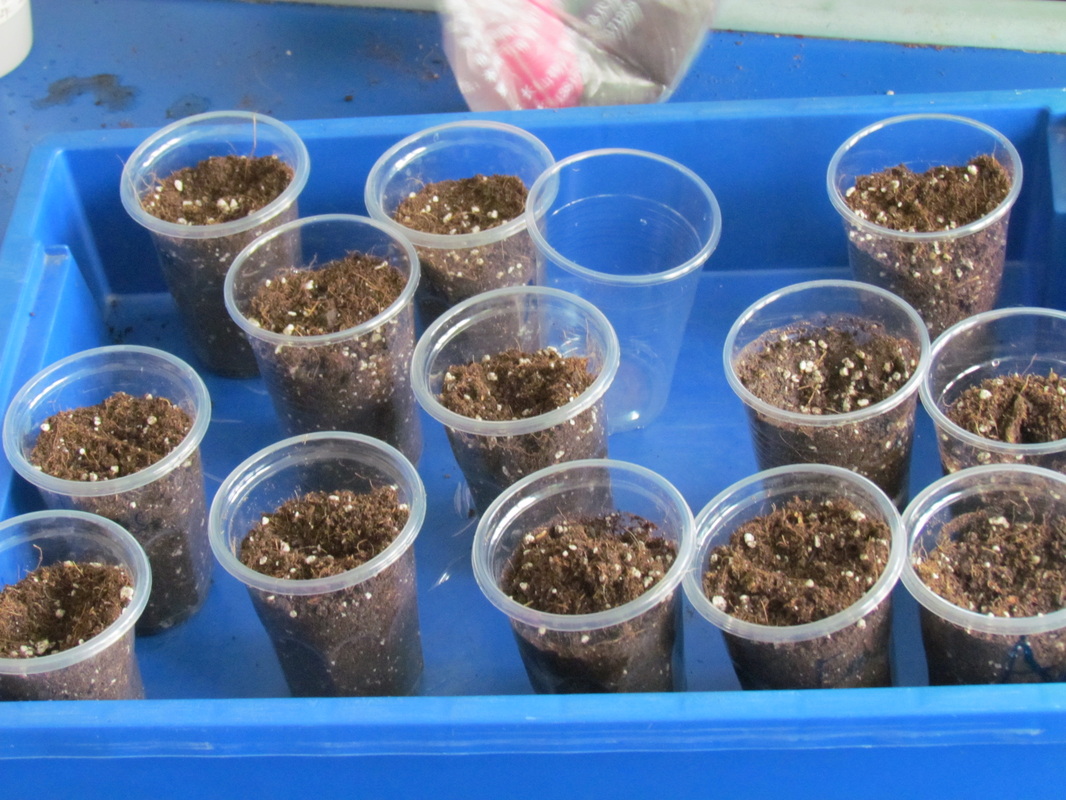
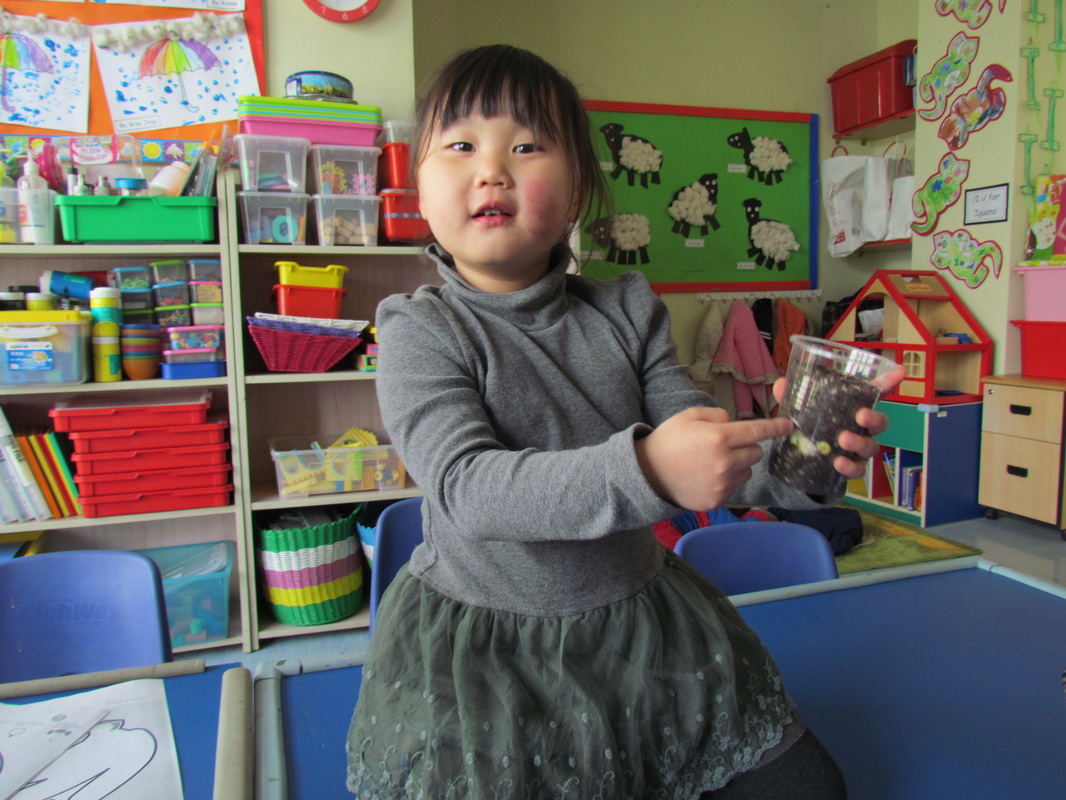
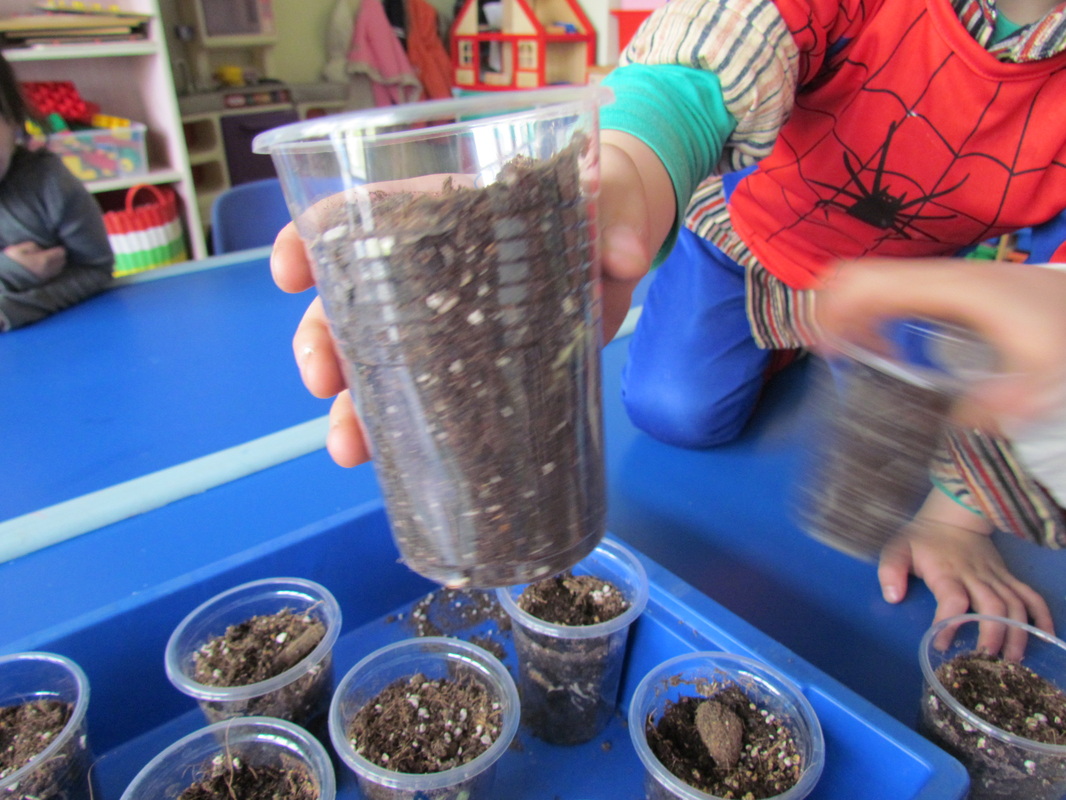
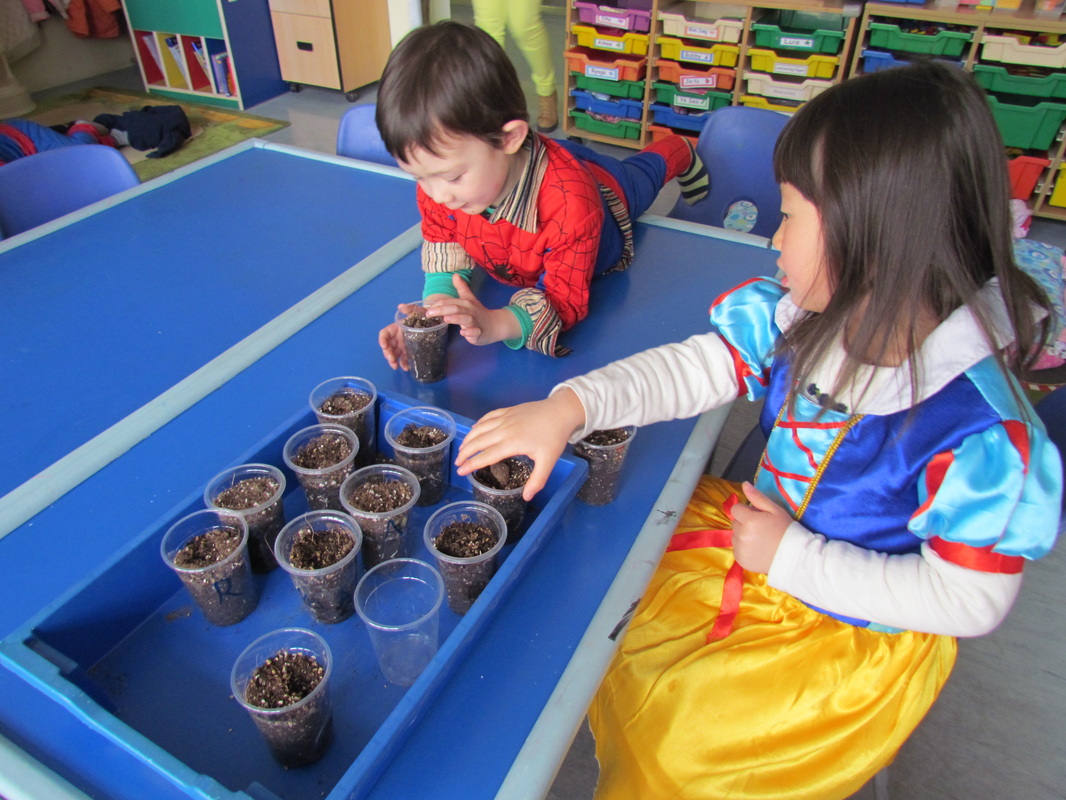
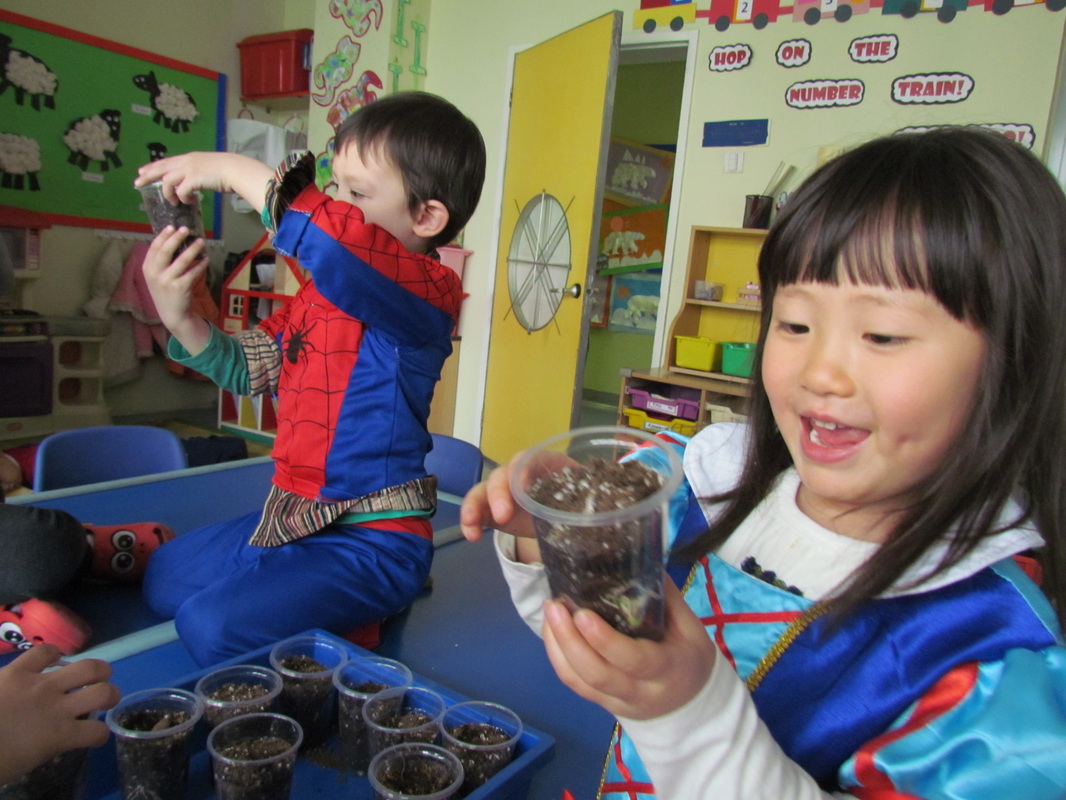
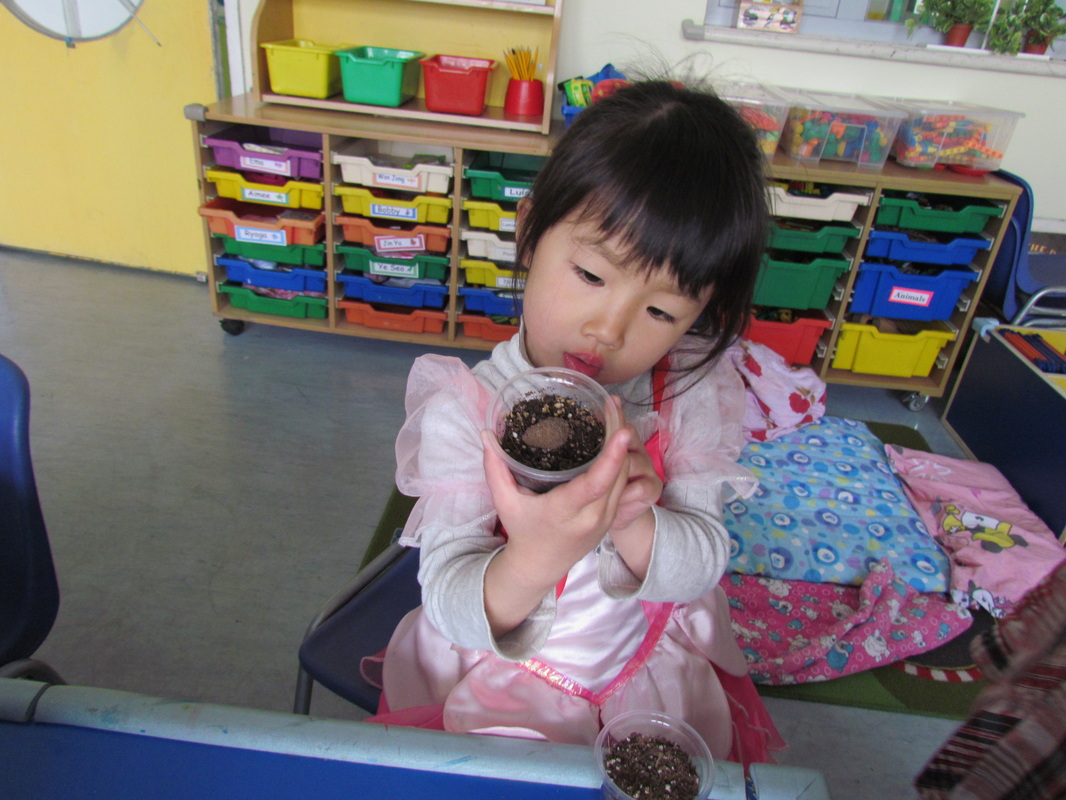
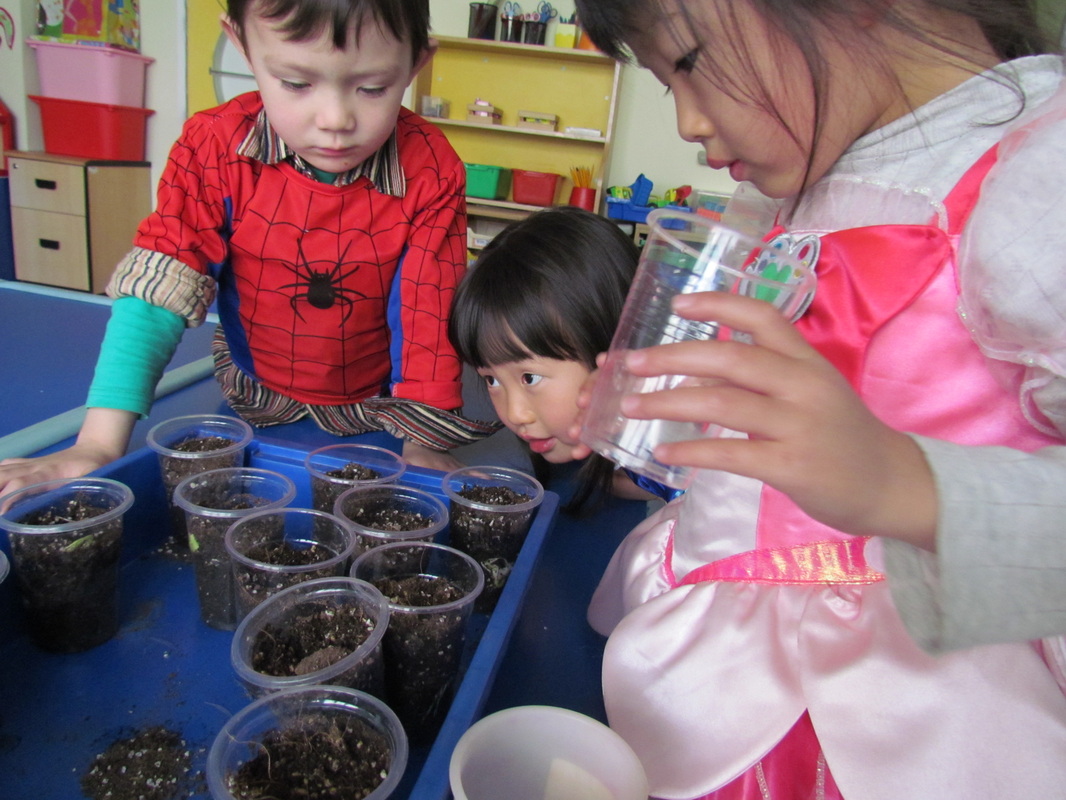
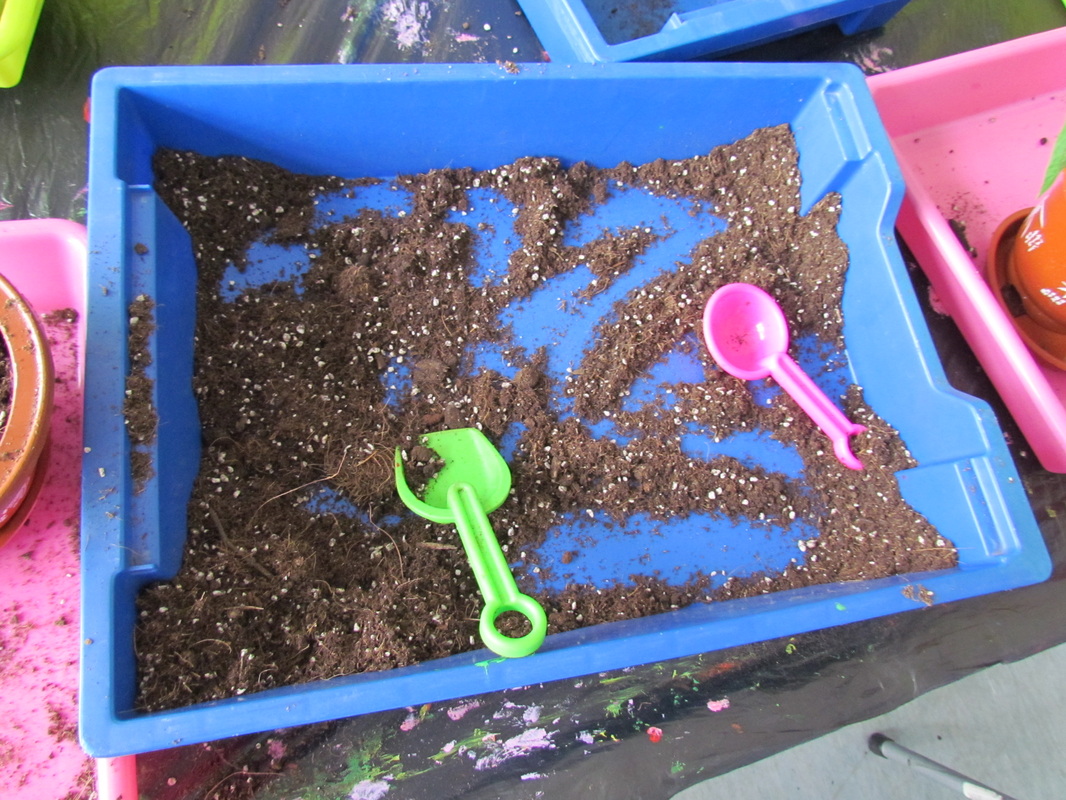
The beans are planted into soil
Next we planted the beans into soil! We put them into clear plastic cups hoping to see the growing roots later on. For some reason the children liked the sound of the word 'soil', they kept repeating it while they were working.
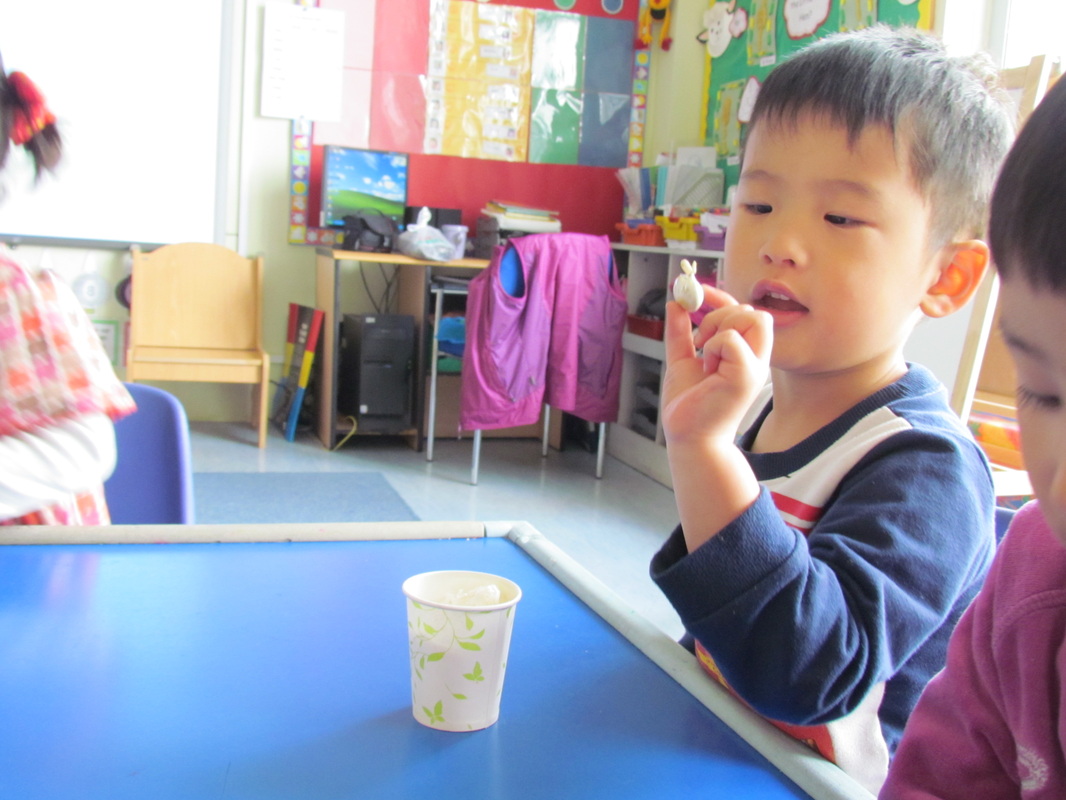
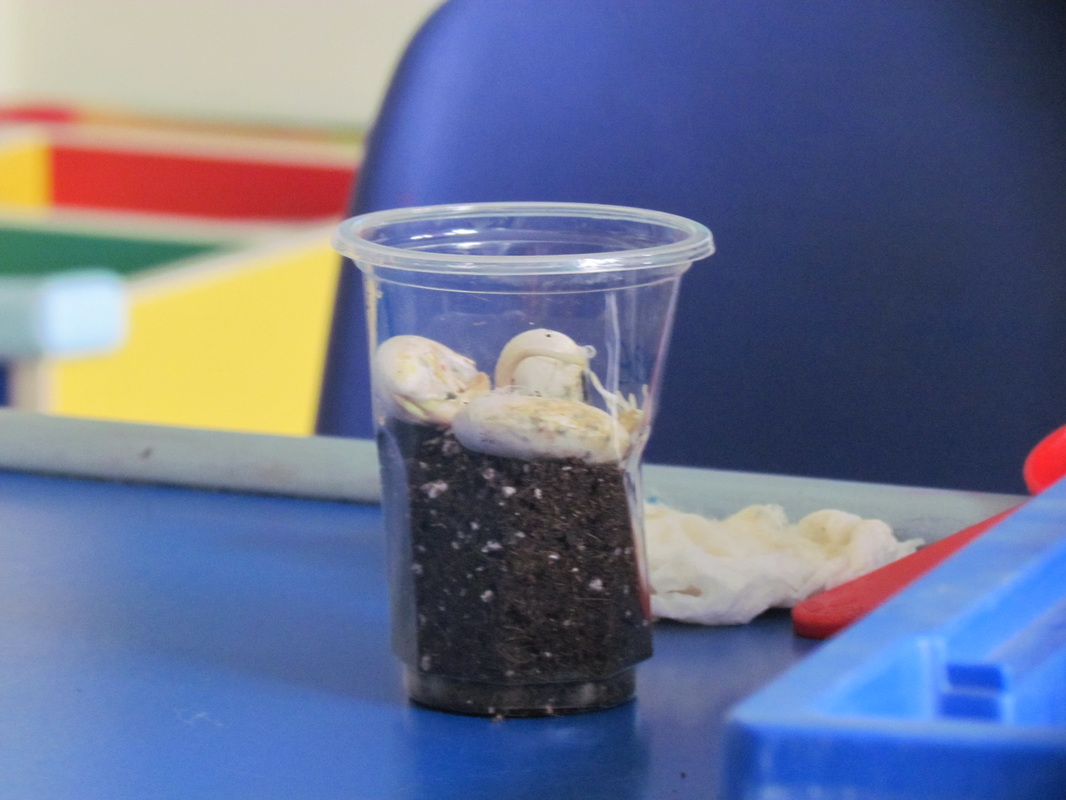
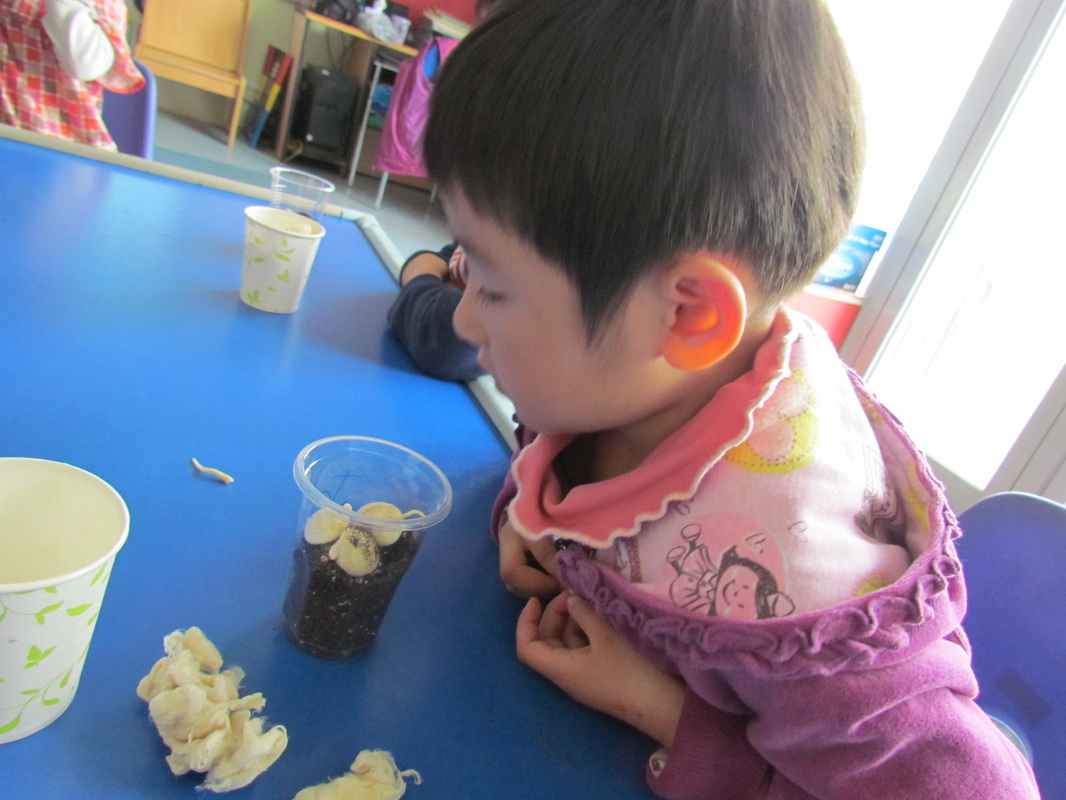
Baby shoot
It was so exciting to see the changes in our planted beans. One tiny shoot grew a couple of days later and the roots were getting longer. The children could see them through the clear plastic cup. They carefuly watered their beans. We wondered how many shoots would we see after the five day holiday?
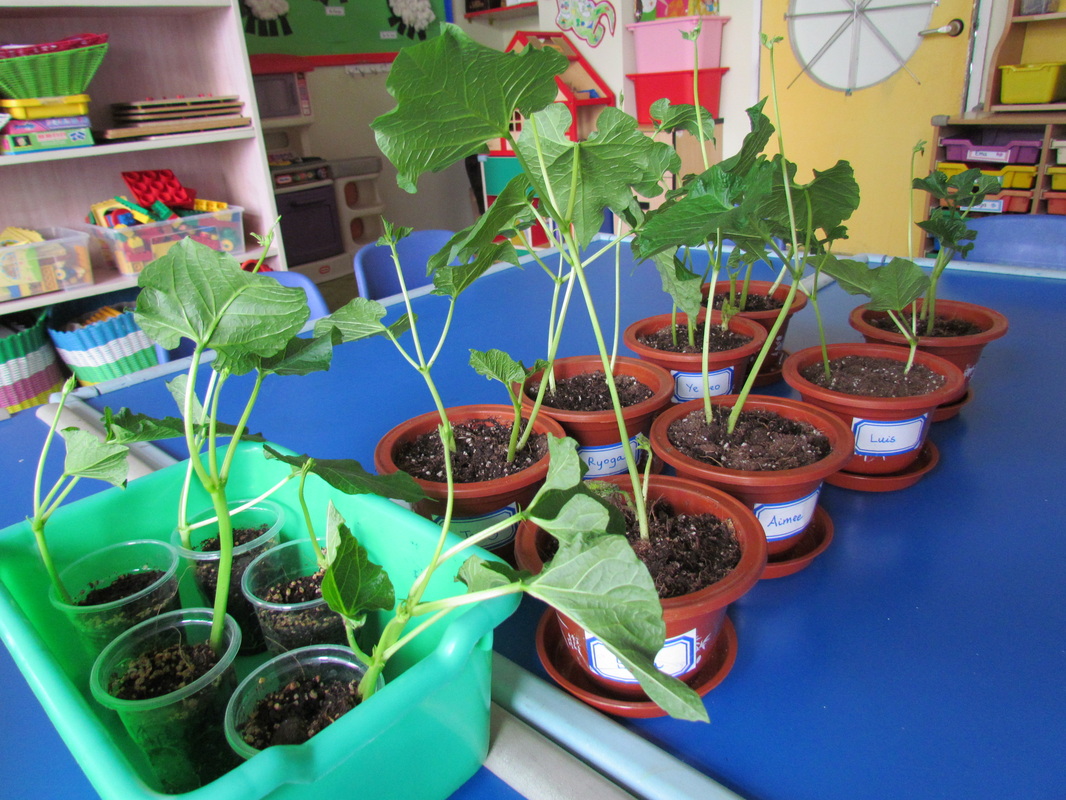
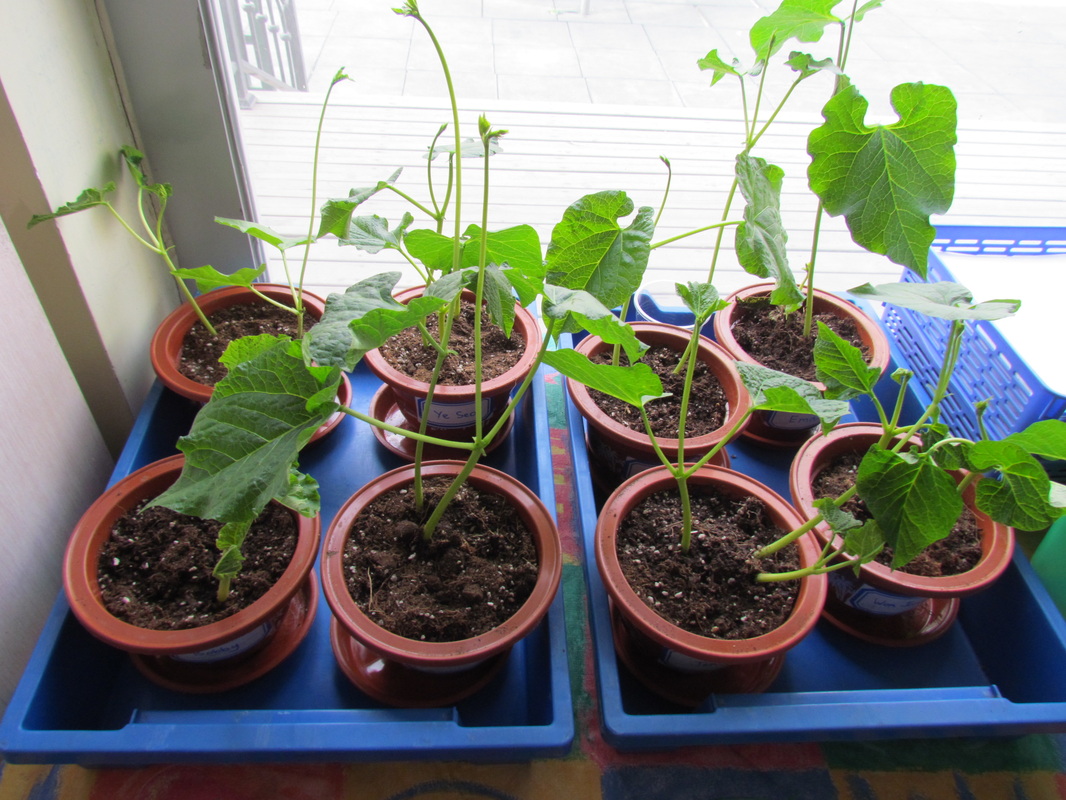
The beanstalks have finally grown!
It was amazing to see how tall the beanstalks grew in just five days holiday! Here how they looked like when we got back to school.

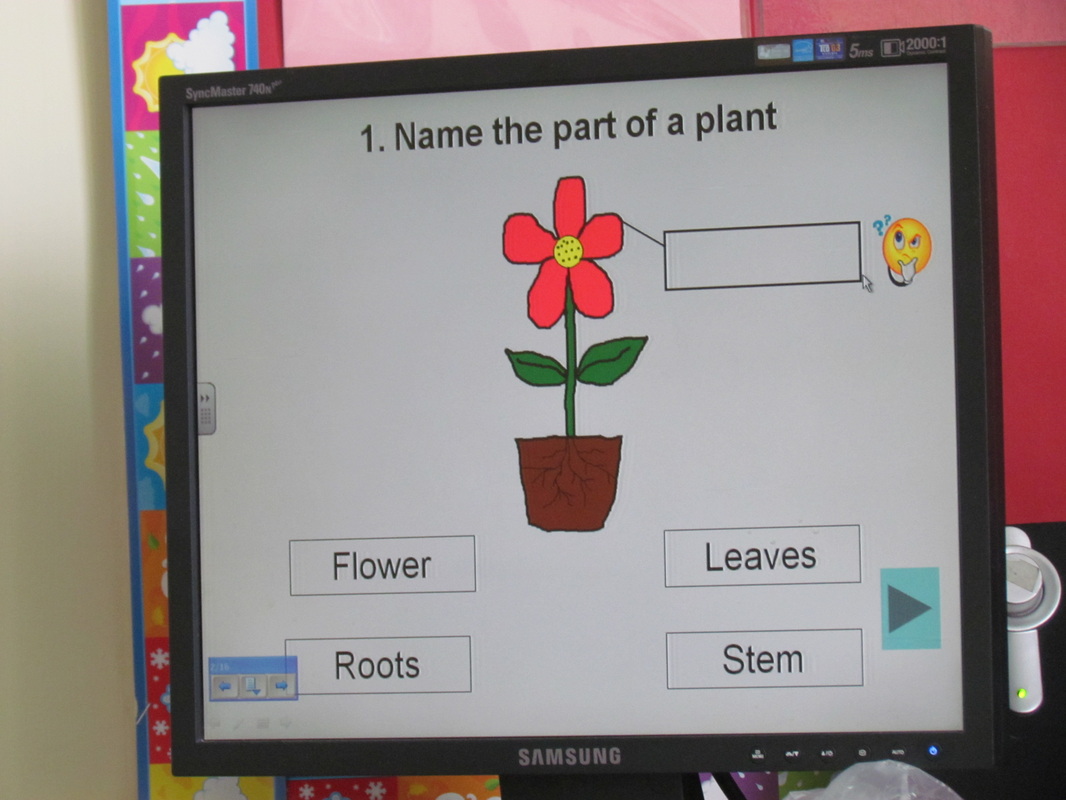
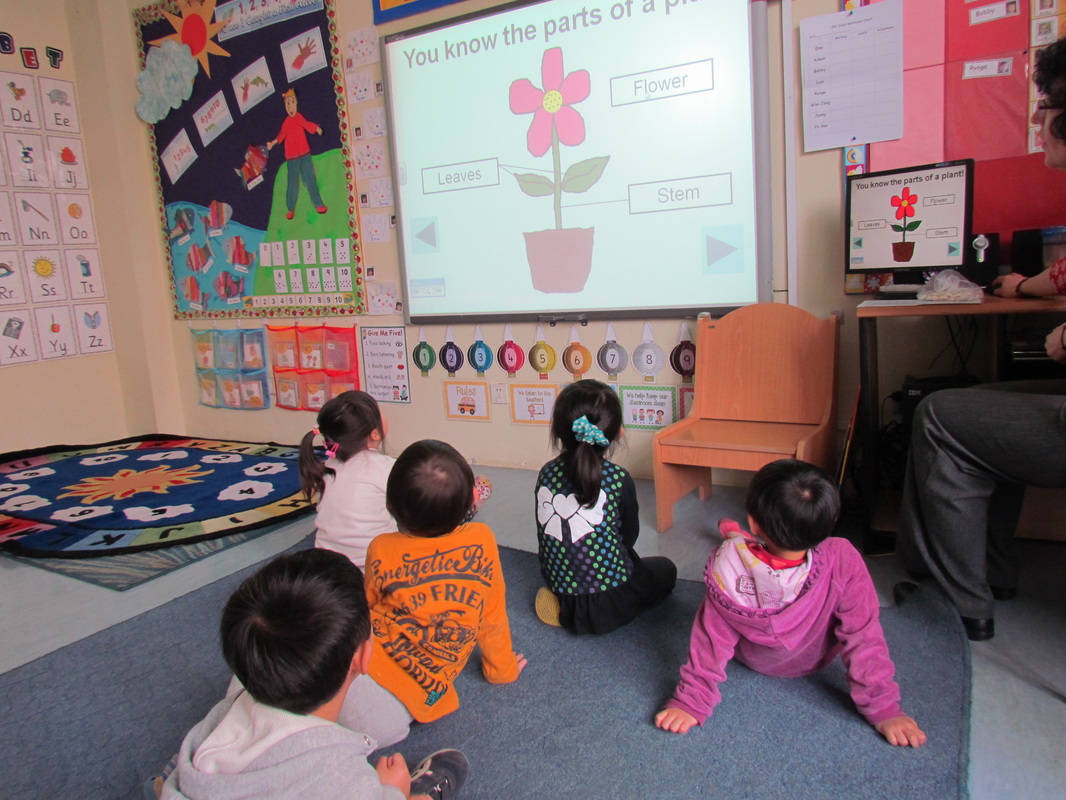
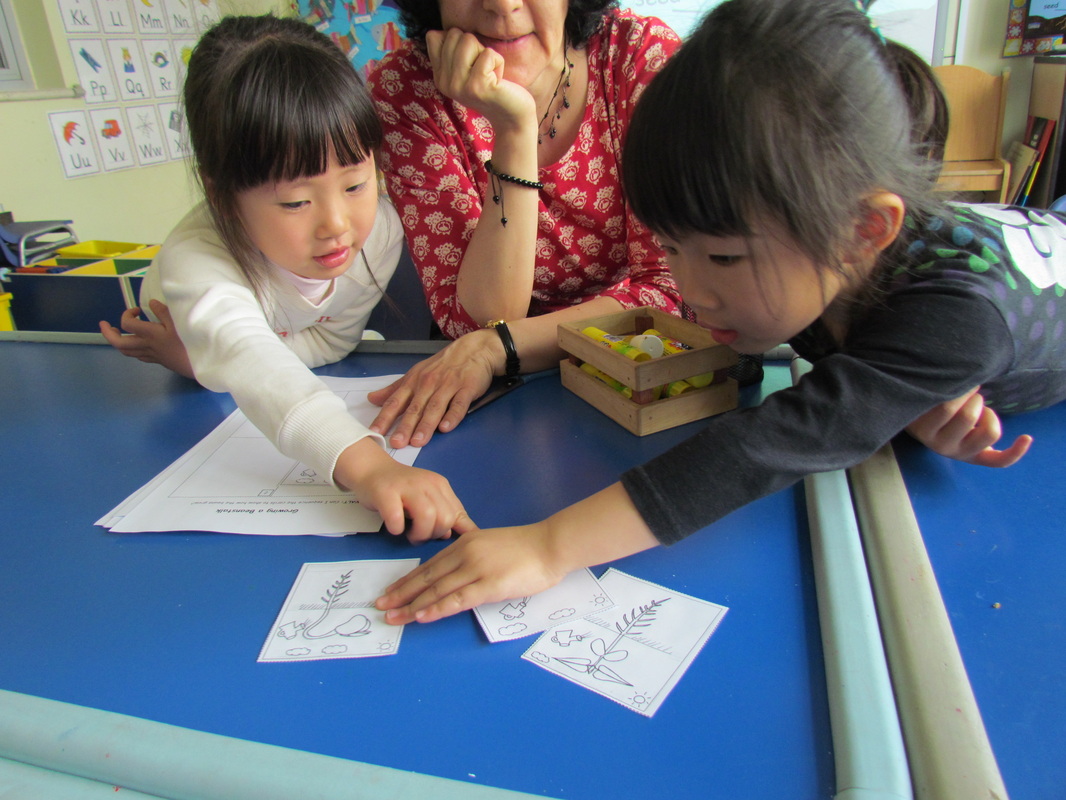
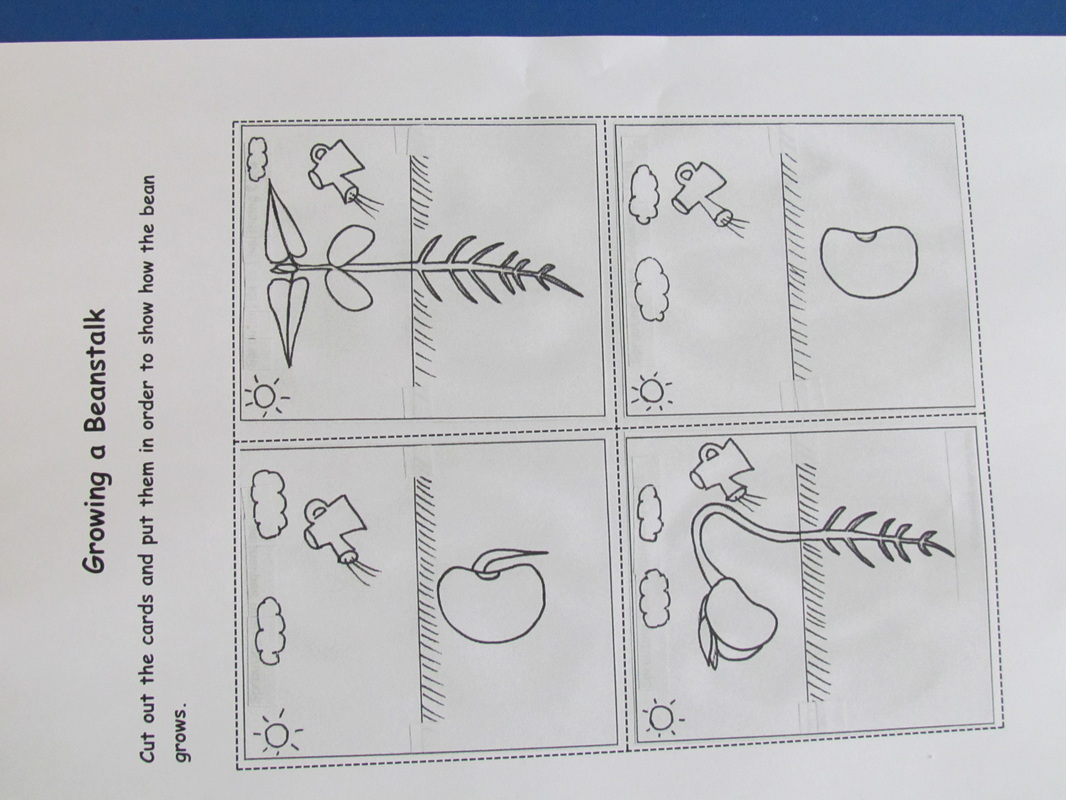
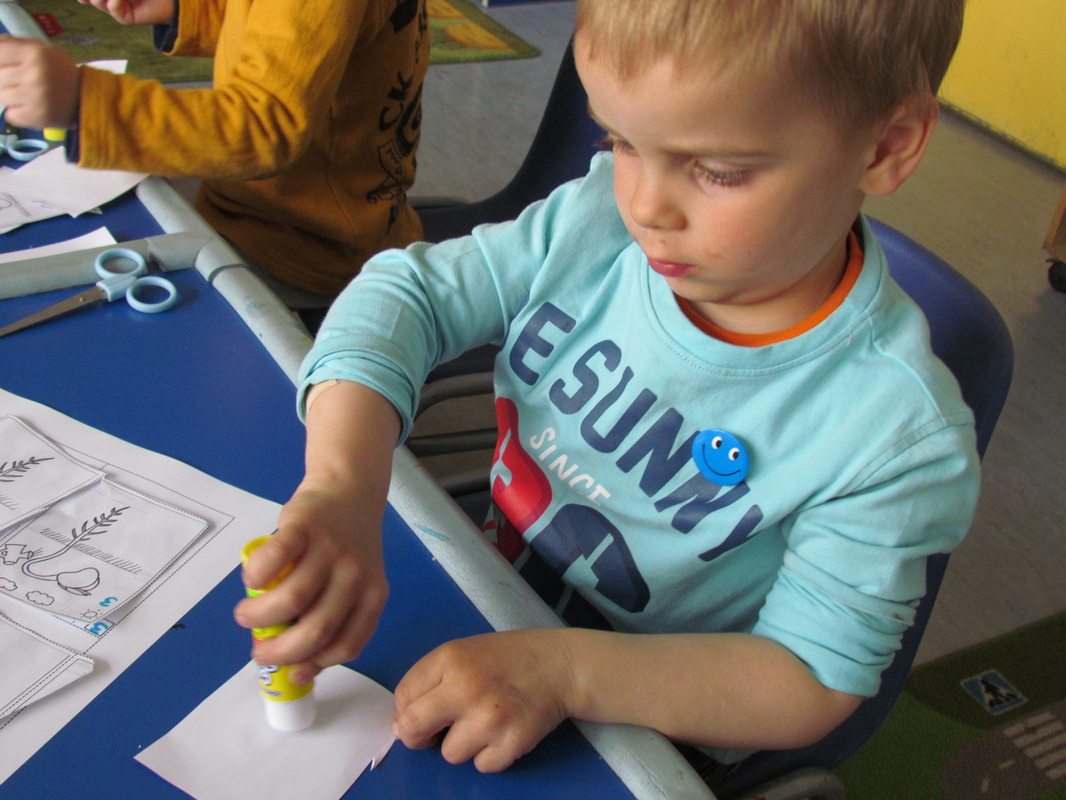
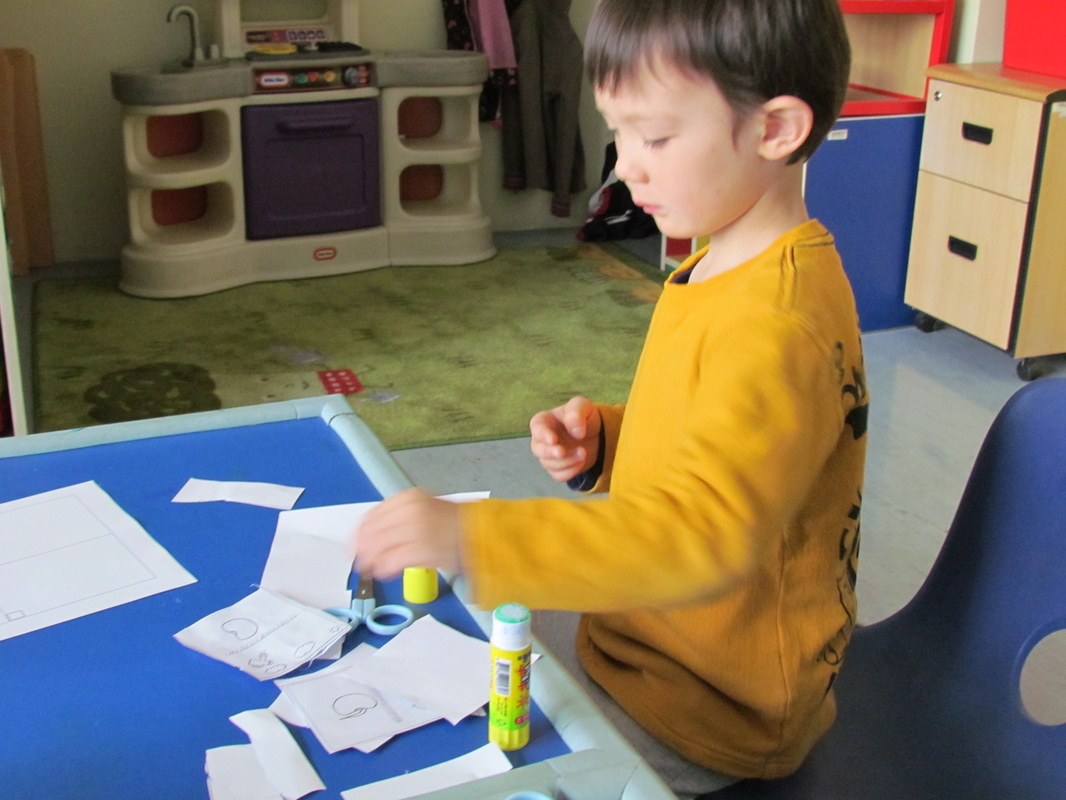
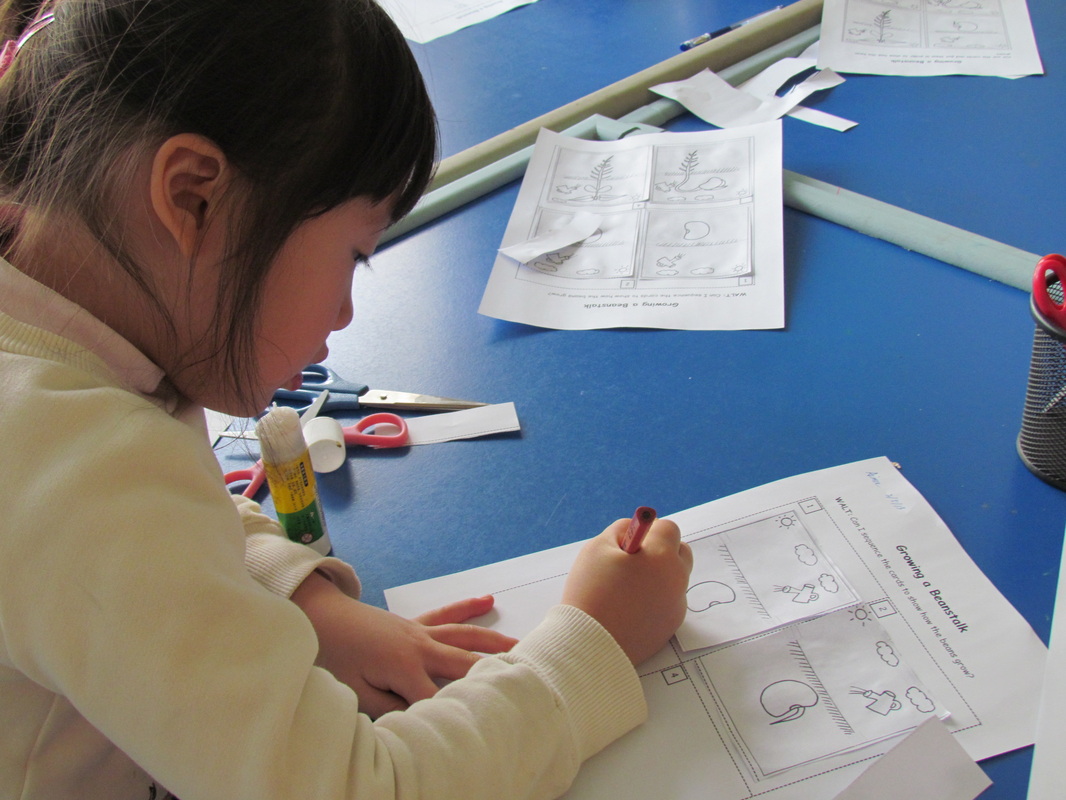
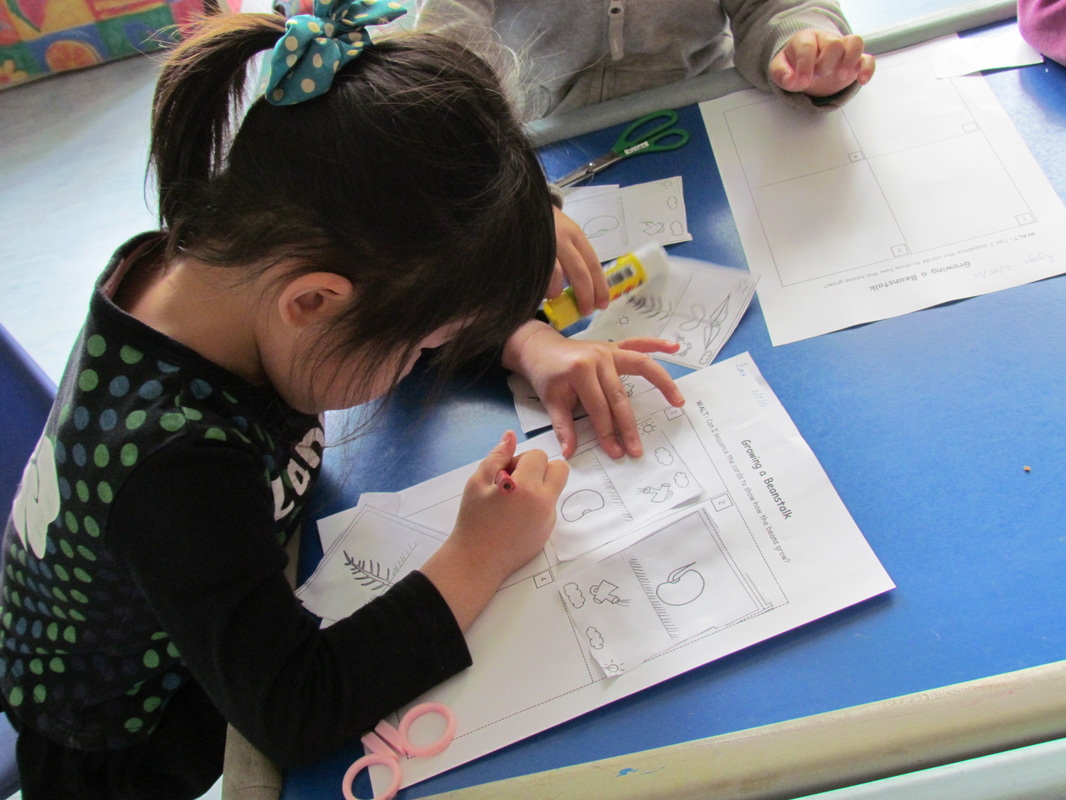
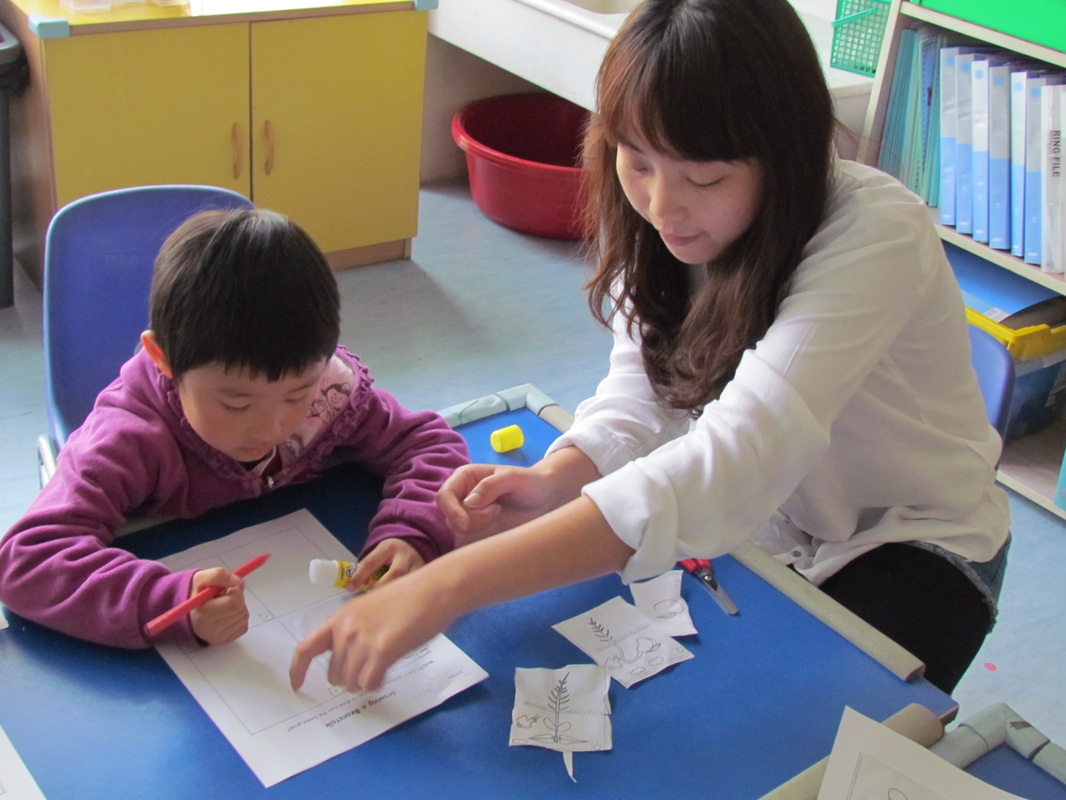
Parts of a plant
As the children observed the beans growing, we looked at the parts of a plant: roots, stem, leaves and a flower. Then they cut out four pictures and pasted them in order to show the sequence of growing a bean. We also talked about the four most important things that are needed for growing a plant - soil, water, air and sunshine.
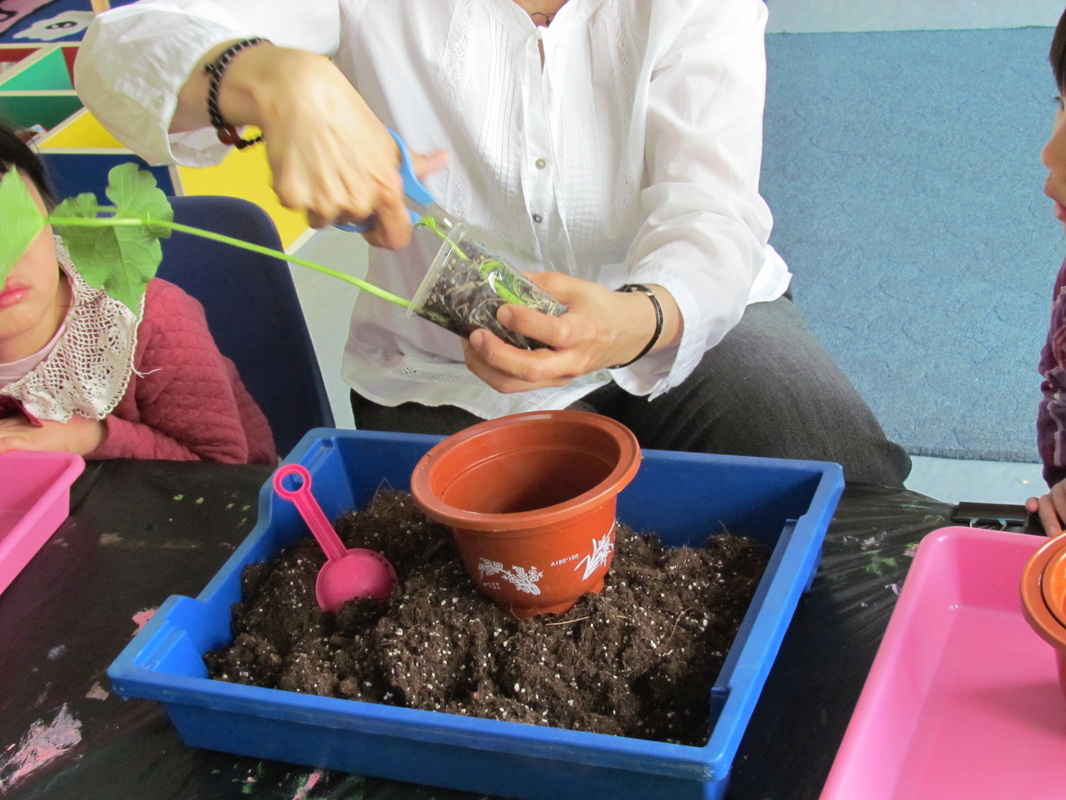
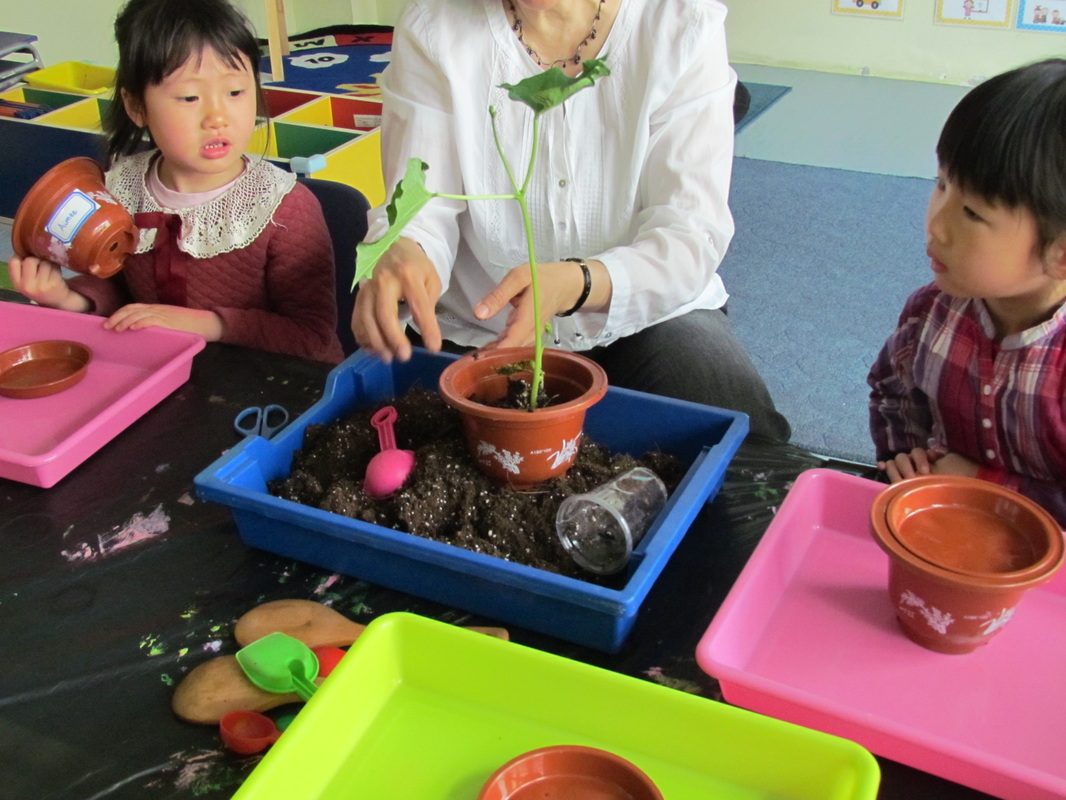
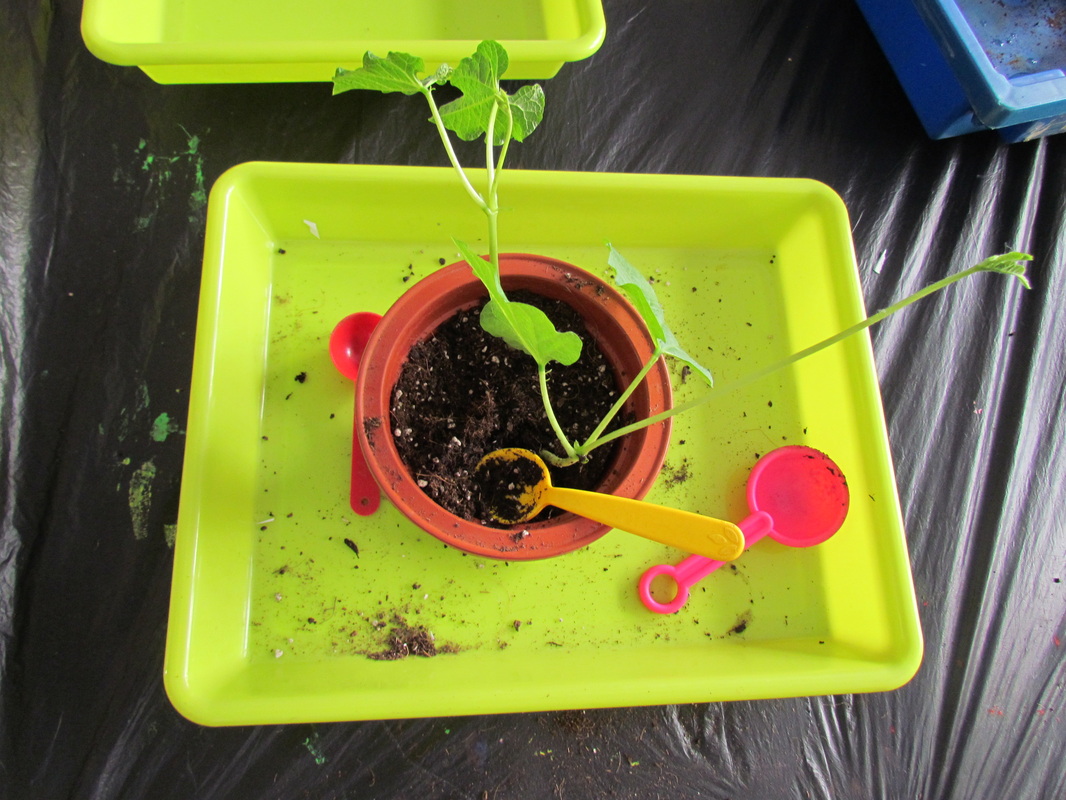
Re-planting beanstalks
The clear plastic cups were getting too small for our beanstalks, so we re-planted them into bigger plant pots. Once I finished showing how to re-plant the beanstalks, it got very busy with all the children being actively involved in the process. There was no time to take the photos at that point.

Just finished!
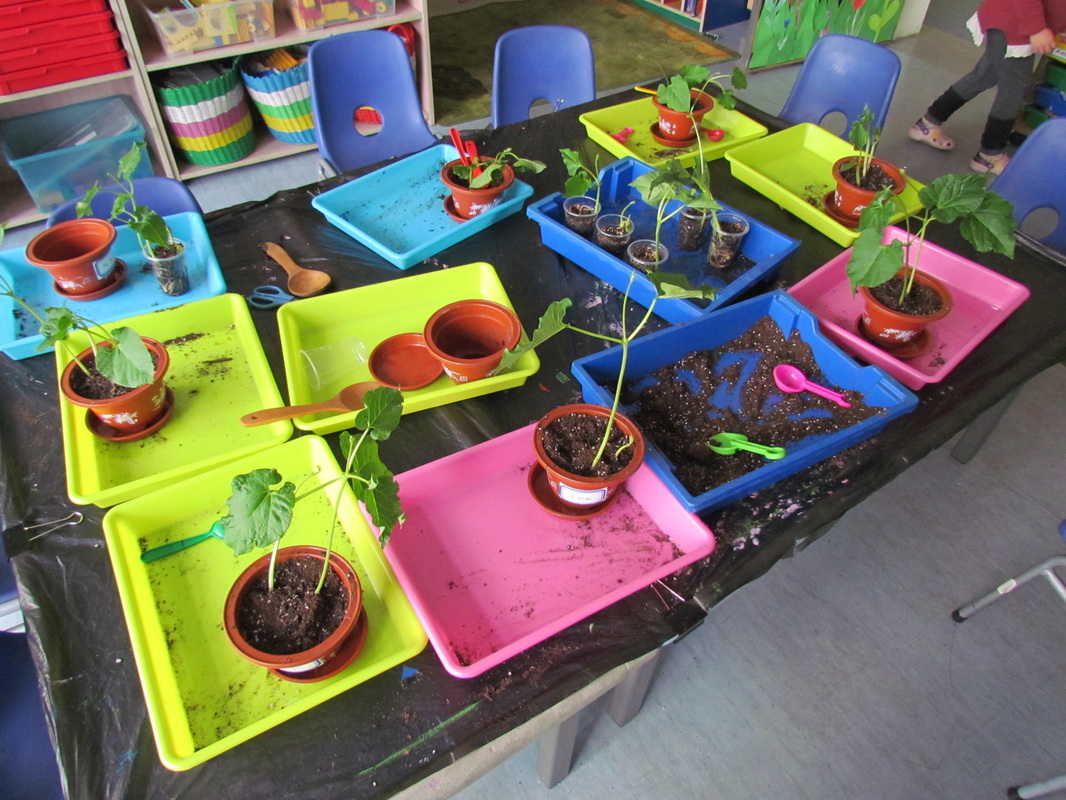
After thorough tidy up.
And here are the children's plants straight after re-planting and watering.
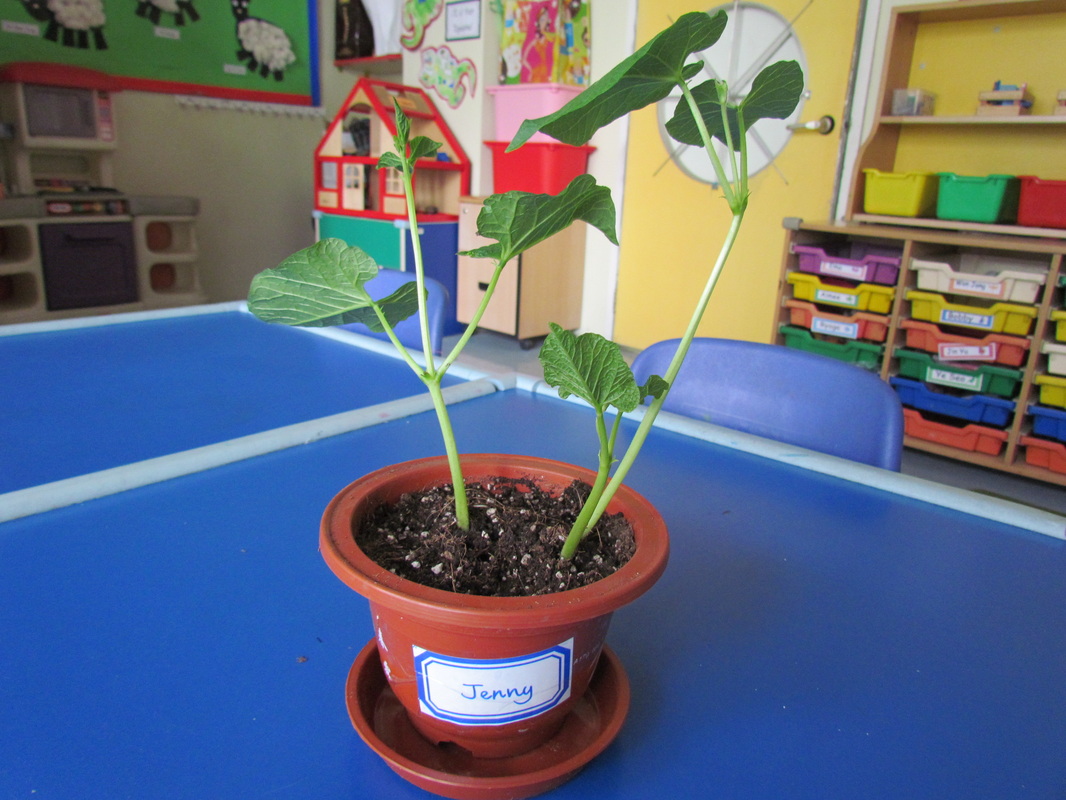
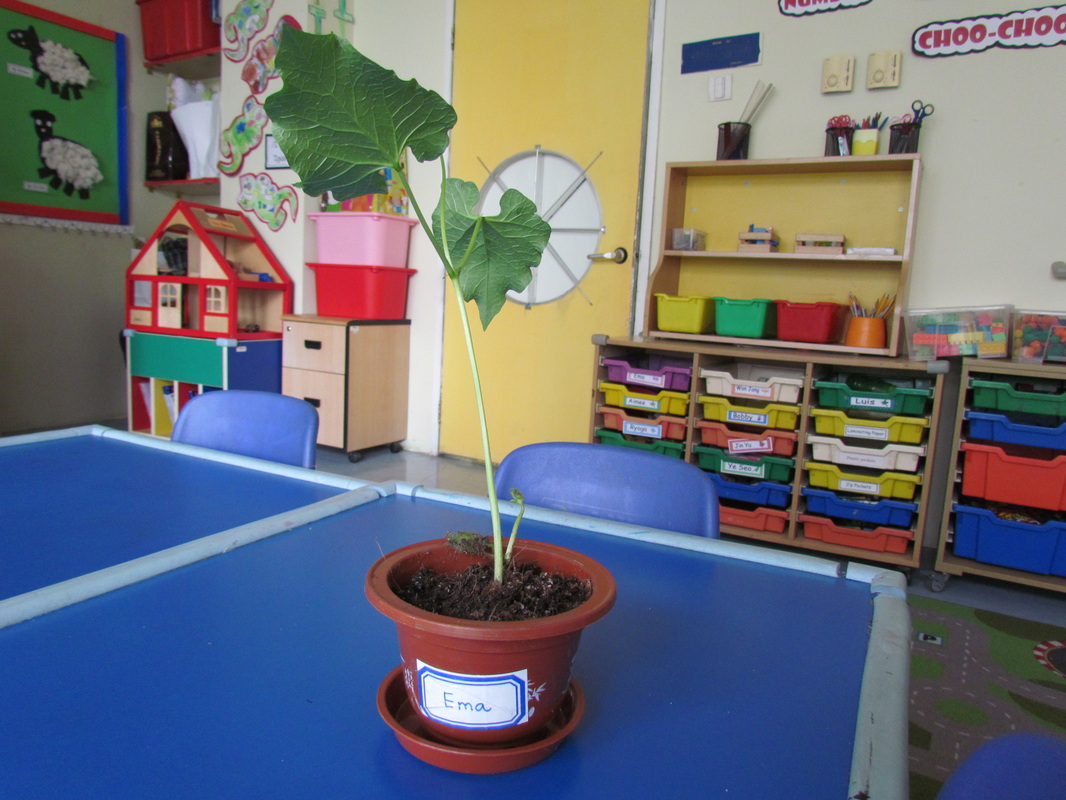
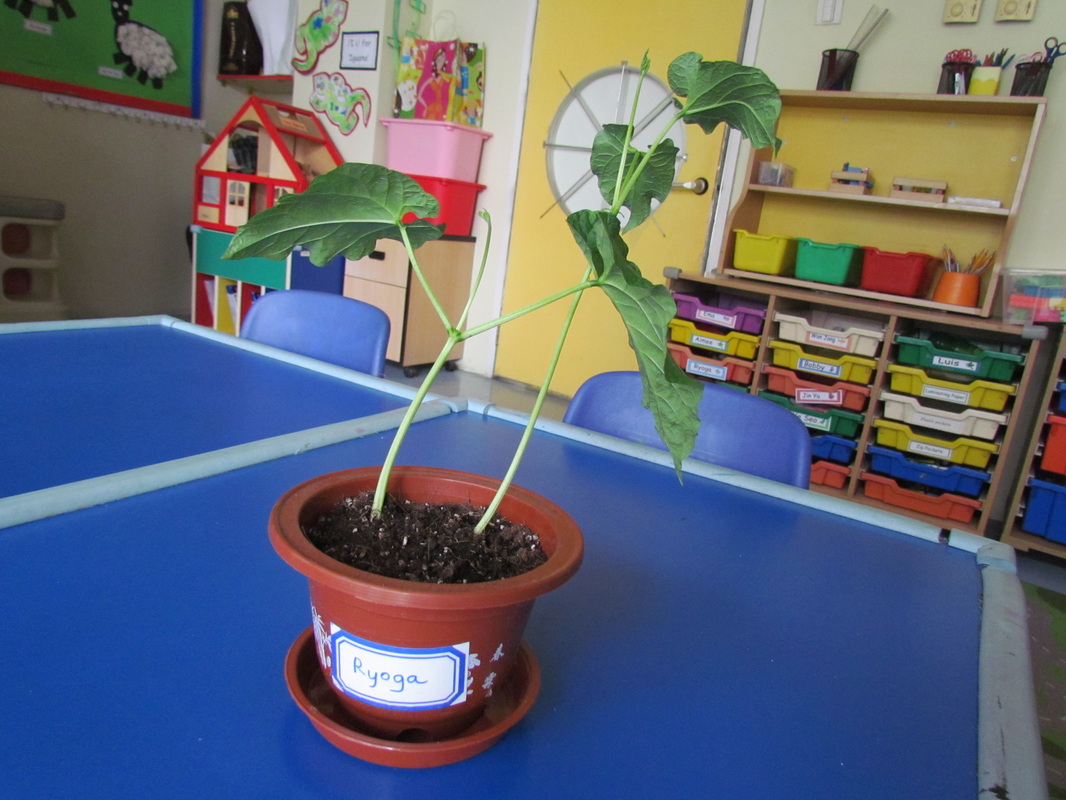
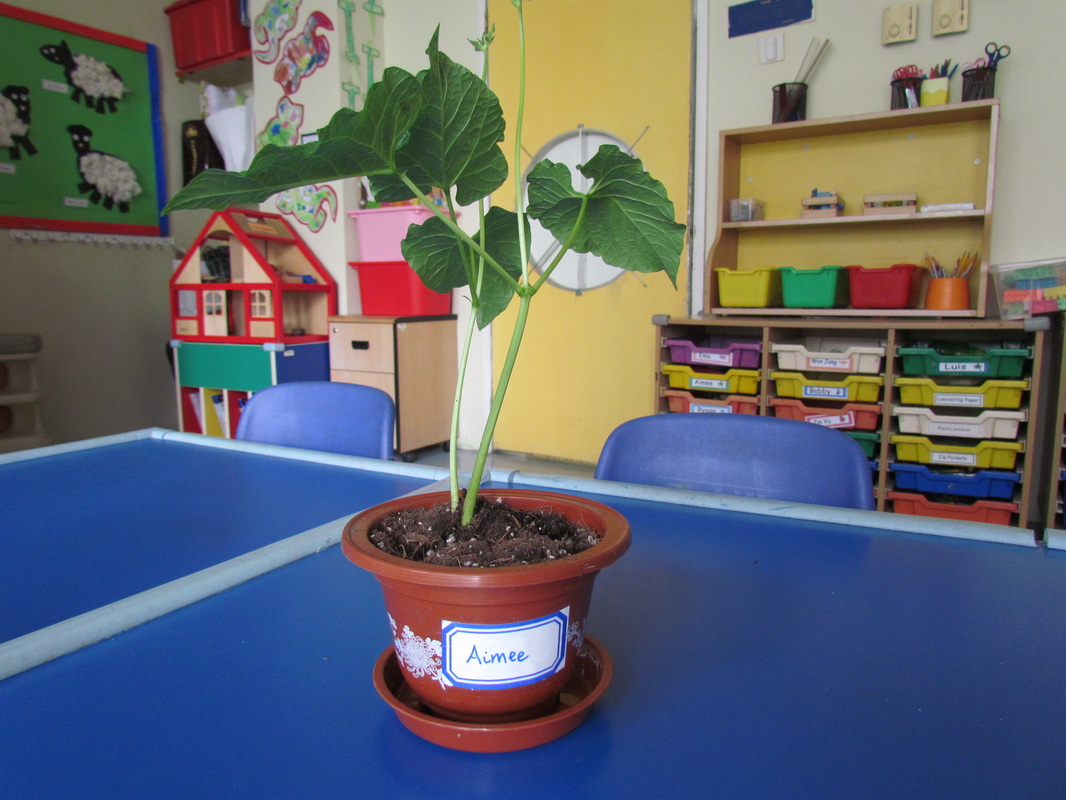
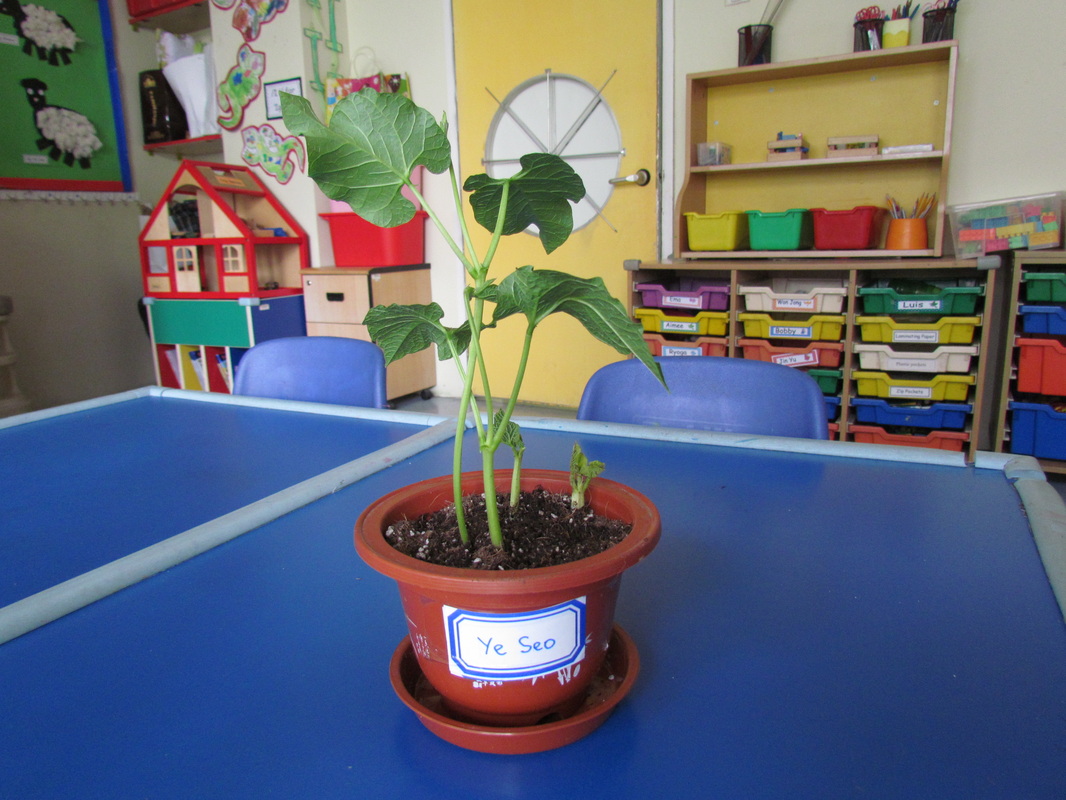
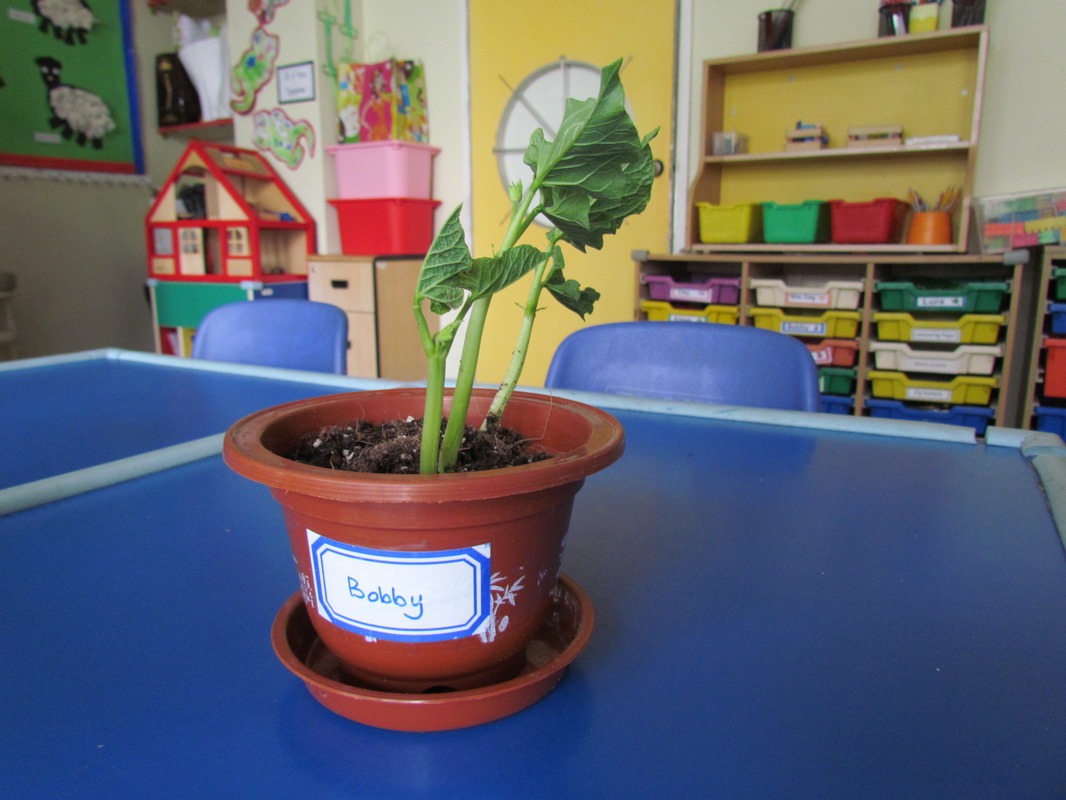

Our little classroom beanstalk garden.